Oil pastels, with their vibrant colors and smooth textures, are an invitation for young artists to explore their creativity. Unlike traditional pastels, oil pastels blend beautifully and create rich textures, making them ideal for mess-free and expressive artwork. This guide is packed with colorful oil pastel art projects designed to engage young minds and inspire a lifelong love for art.
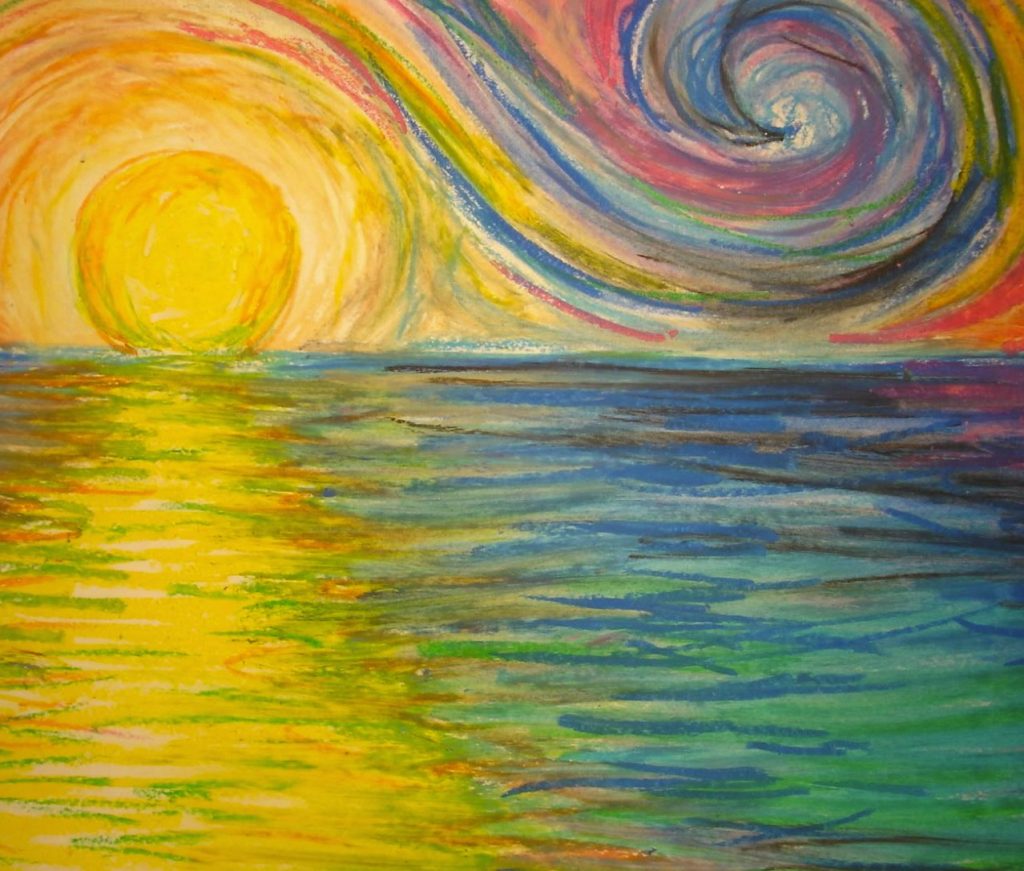
Part 1: A Celebration of Color
1. Rainbow Explosion:
Let’s kickstart the creative journey with a burst of vibrant color! Equip your young artist with a sheet of crisp white paper and a diverse range of oil pastels. Encourage them to unleash their creativity by drawing bold, horizontal stripes across the paper, making use of every color in their set to create a radiant and vivid rainbow. Once the rainbow masterpiece is complete, it’s time for the enjoyable part! Encourage them to use their fingers or a blending stump to delicately blend the edges of each color into the next, aiming to produce a seamless and vivacious rainbow effect. They can also experiment with applying different blending pressures to achieve subtle or dramatic transitions, allowing them to fully immerse themselves in the enchanting world of color mixing.
2. Color Wheel Creatures:
Introduce your young artist to the color wheel with a playful project. Draw a simple circle on a piece of paper and divide it into sections like a color wheel. Encourage them to fill each section with a different color from their set. Once the color wheel is complete, it’s time to get creative! Provide them with simple shapes like circles, squares, and triangles cut out of construction paper. Let them use these shapes to create fantastical creatures, assigning each creature a specific color palette based on the color wheel. This activity fosters color exploration and basic shape recognition in a fun and imaginative way.
Part 2: Textural Adventures
1. Scratch Art Surprises:
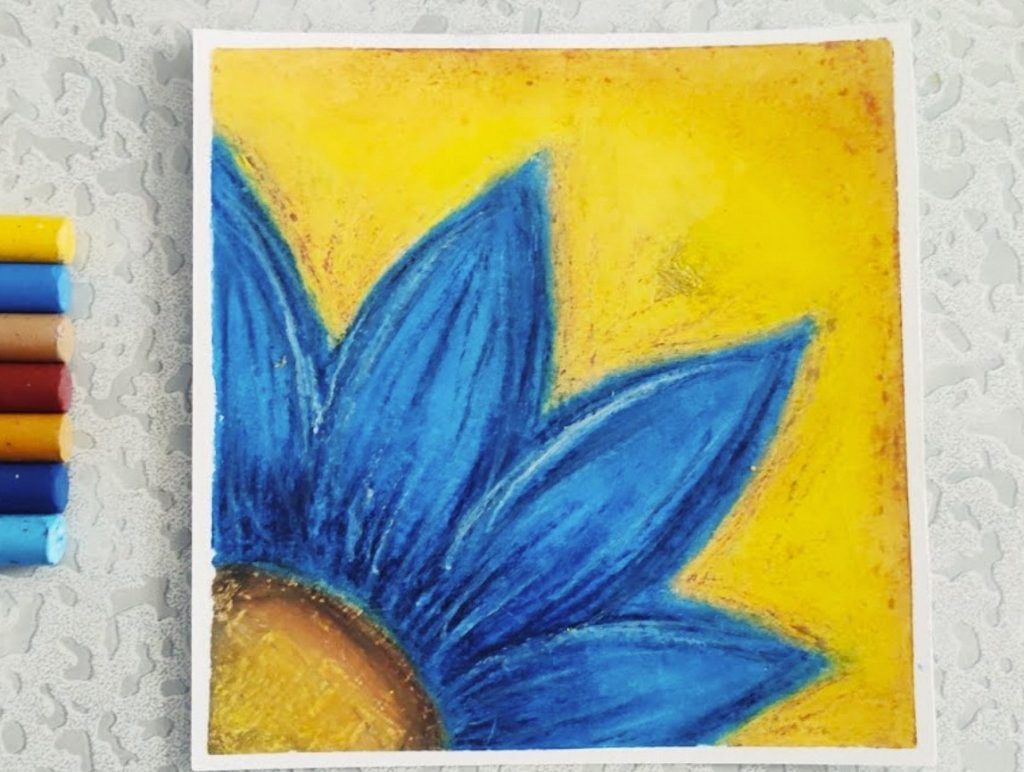
Oil pastels offer exciting textural possibilities. Begin by having your young artist draw a base layer on their paper using a light color. Next, let them apply a darker color on top, completely covering the first layer. Now comes the magic! Using a toothpick (with adult supervision), help them gently scratch away sections of the top layer, revealing the lighter color underneath. This technique can create interesting textures like fur, bark, or even brick walls, adding depth and dimension to their artwork. Encourage them to experiment with scratching different shapes and patterns to create a surprising and unique artwork.
2. Layering and Stamping Extravaganza:
Layering colors is a fundamental technique for creating depth and dimension. Start by having your young artist apply a light base color to their paper. Next, encourage them to gradually build up darker shades on top, layering the colors to create a sense of depth. Experiment with applying the pastels in different directions to achieve different textures. Let them explore further by creating simple stamps using cut-out shapes like stars or hearts from potatoes or sponges. Dip the stamps into various oil pastels and gently press them onto the paper, creating playful patterns and adding another layer of texture to their artwork.
Part 3: Let’s Create Something Fun!
1. Silly Self-Portraits:
Let’s get silly with some self-portraits! On a piece of paper, help your young artist draw a simple circle for the head. Encourage them to use different colors for the eyes, nose, and mouth, letting their imagination run wild! Experiment with different shapes and sizes for the eyes, a round or squiggly nose, and a wide smile or a funny frown. Don’t forget the details like colorful hair using strokes of oil pastels and maybe even some wacky glasses or a funny hat! These silly self-portraits allow for endless creativity and are a great way to explore basic facial features in a fun and lighthearted manner.
2. Dreamy Landscapes:
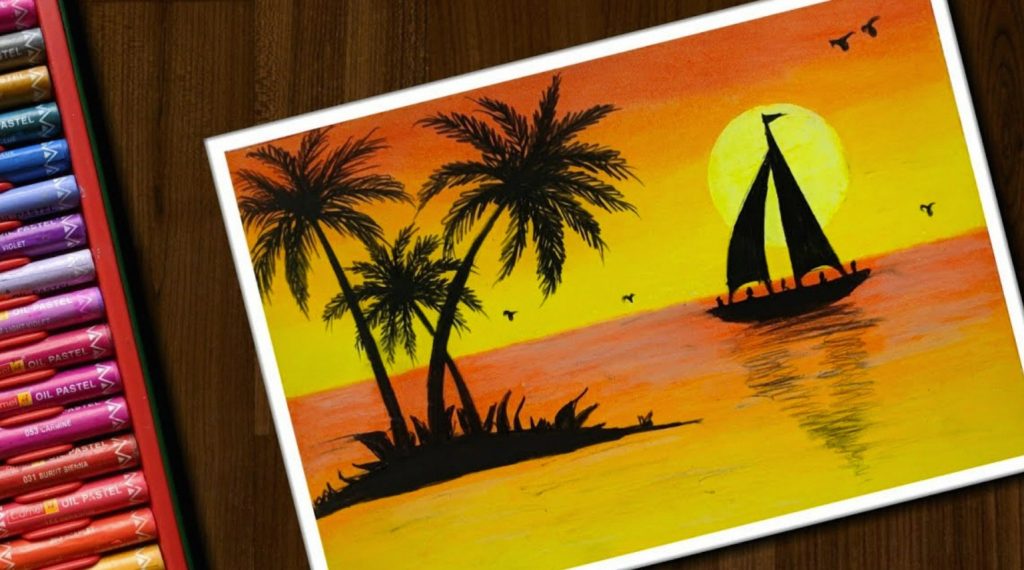
Encourage your young artist to create a world of their own with a dreamy landscape scene. Provide them with a large sheet of paper. Suggest using blue or purple for the background, creating a soft and ethereal feel. Let them add fluffy white clouds with gentle strokes of pastel and sprinkle dots of yellow or orange to represent twinkling stars. In the foreground, encourage them to draw rolling hills with a few shades of green and add simple shapes like trees or houses using contrasting colors to create a sense of depth. Don’t forget to incorporate paths or a river winding through the landscape, adding to the dreamy and inviting atmosphere.
Part 4: Keep the Creative Spark Alive!
1. Experiment with Tools:
Oil pastels can be utilized with an array of tools that extend beyond the use of fingers and blending stumps. Introduce your young artist to the myriad possibilities by providing them with cotton swabs for achieving soft blending, crumpled tissue paper for adding interesting textured effects, or demonstrate how the back of a spoon can be used for creating curved shapes with the pastels. Encouraging them to experiment with these diverse tools not only allows them to explore new techniques but also empowers them to create unique textures and effects in their artwork. This process nurtures their problem-solving skills, as they discover how to adapt and utilize each tool to their advantage, ultimately allowing them to explore the full potential of oil pastels and fostering a deeper understanding of the medium. By embracing experimentation, young artists can expand their artistic repertoire and develop their own distinctive style.
2. Art Adventures Everywhere:
Open your young artist’s eyes to the world around them! Take walks in nature, visit art galleries or museums, and observe the vibrant colors and textures they encounter. Encourage them to take photos or make simple sketches to capture these inspirations and translate them into their next oil pastel creations. Learning to appreciate the beauty in everyday objects and nature will fuel their artistic journey for years to come.
By incorporating these colorful oil pastel art projects, you can provide a springboard for endless creative exploration for your young artist. Remember, there are no mistakes in art! Celebrate their imagination, embrace experimentation, and watch their artistic confidence blossom with every vibrant masterpiece they create.
