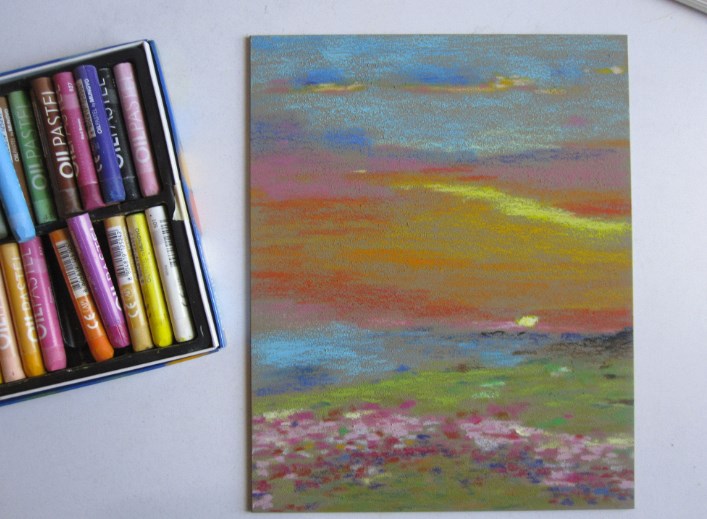
Oil pastels are a fantastic gateway to the world of art. Their vibrant colors, smooth blending, and forgiving nature make them ideal for beginners. This guide offers four categories of quick and fun tips to help you master this exciting medium:
Part 1: Gearing Up for Success
Choosing Your Tools:
To begin your oil pastel journey, it’s essential to invest in a high-quality set of oil pastels. When choosing oil pastels, look for well-regarded brands known for vibrant pigments and smooth blending. These qualities enhance the visual impact and versatility of your artwork. A smaller set with around 24 colors is perfect for beginners, allowing for experimentation without overwhelming choice, while a larger set provides a wide array of color options. When selecting paper for your oil pastel work, opt for a smooth surface such as heavyweight drawing paper or sanded pastel paper. These surfaces facilitate smooth blending of pastels and provide a sturdy foundation for your artistic endeavors, allowing you to fully unleash the expressive potential of oil pastels.
Paper Selection and Avoiding Smudging:
When embarking on an oil pastel drawing, the choice of paper is crucial and can significantly impact the final result. Smooth papers provide an ideal surface for seamless blending. They allow the vibrant pigments of the oil pastels to meld and transition with ease. On the other hand, textured paper lends a more rustic and tactile appearance to the artwork. The raised surfaces interact with the pastels to create an evocative visual effect. To ensure the integrity of your drawing, use a sheet of scrap paper under your hand while working. This practice prevents smudging and preserves the pristine quality of your artwork. It is especially useful in areas where your hand may inadvertently come into contact with the applied pastels.
Part 2: Mastering Basic Techniques
Layering Like a Pro:
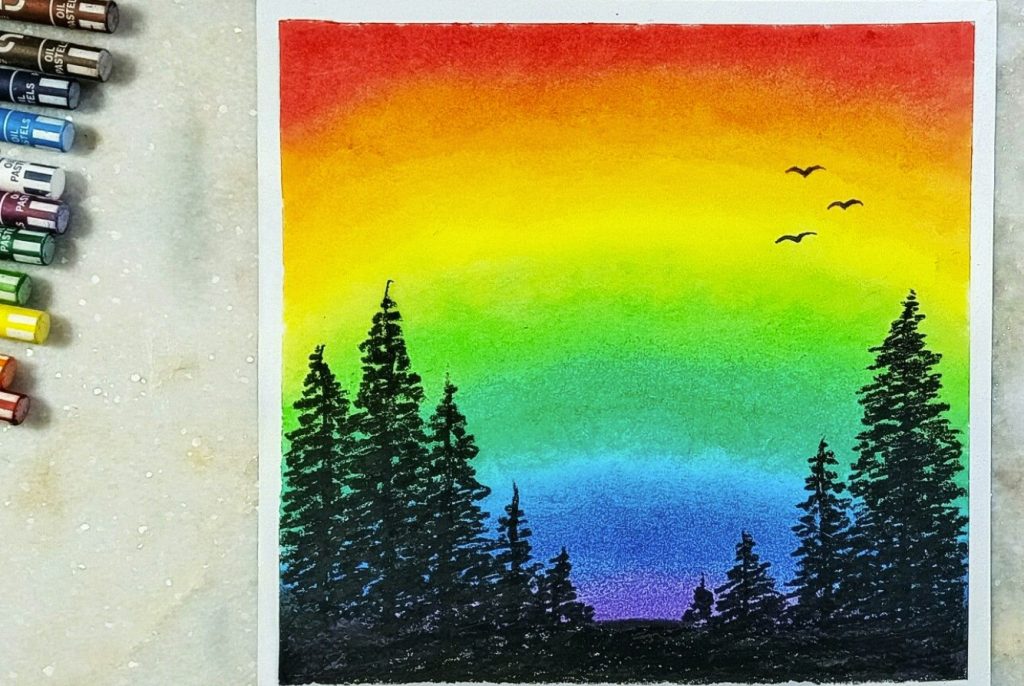
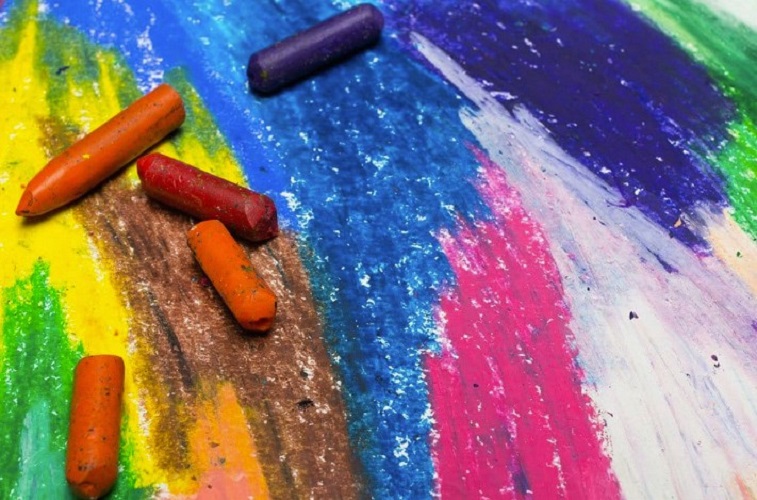
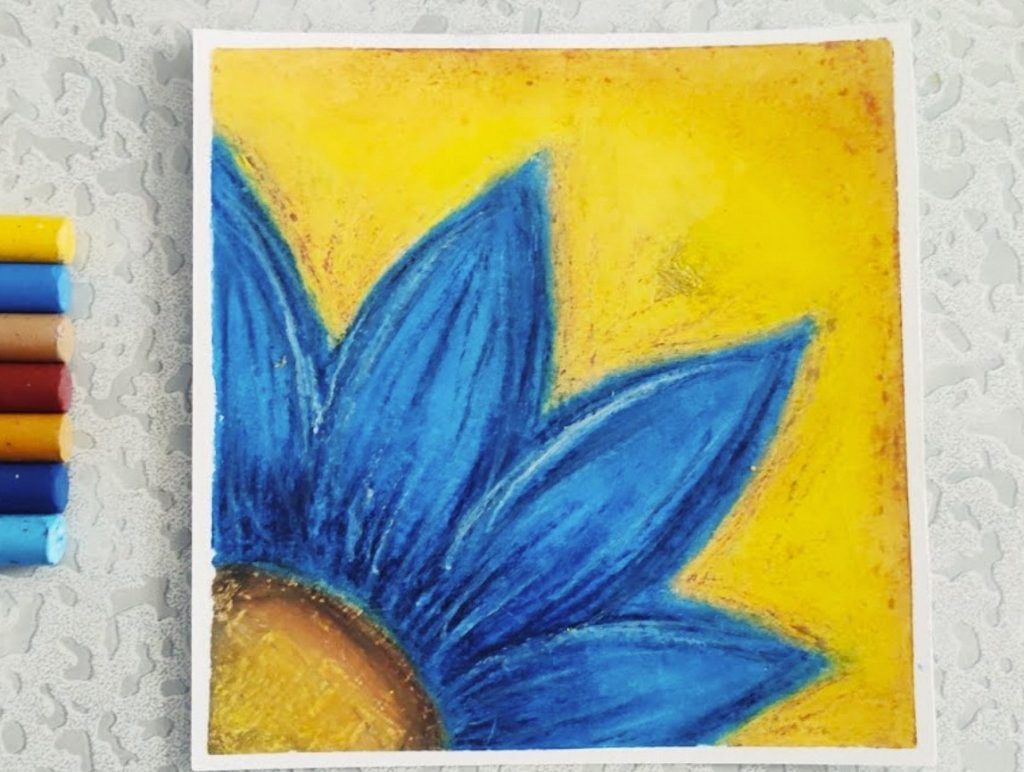
When working with oil pastels, it is essential to start with a light touch to achieve optimal results. Beginning with a delicate application of color, gradually build up the hues by layering thin strokes. This deliberate approach not only allows for smoother blending but also prevents the colors from becoming muddy, ensuring a vibrant and visually appealing outcome. Furthermore, don’t hesitate to experiment with varying pressures while applying the pastels to the surface, as this technique can yield compelling variations in tone and texture. By adjusting the pressure exerted on the pastels, you can create dynamic contrasts and tactile details within your artwork, adding depth and visual interest. Embracing these techniques and exploring the interplay of color and pressure allows for a more nuanced and expressive application of oil pastels, enabling you to unlock their full potential as a versatile medium for artistic expression.
Blending Magic:
Oil pastels excel at blending, allowing you to create seamless transitions between colors. Here are two effective methods:
Paper Stump/Tissue Blending: Once you’ve applied your colors, use a paper stump (a cylindrical blending tool) or a clean tissue to gently rub them together. This softens the edges and creates a smooth blend.
Finger Blending: While paper stumps and tissues offer more control, your fingers can be a great blending tool too. Use a clean finger to gently blend colors in a circular motion. Be mindful of applying too much pressure, as this can lift the pastel or smudge your drawing.
Part 3: Creating Texture and Dimension
The Power of Pressure:
You can experiment with the effects of oil pastels by varying the pressure you apply. A light touch will result in a smooth, flat application of color, while a heavier hand will create a textured look with visible strokes and more pronounced color variations. Trying different levels of pressure allows you to create a diverse range of textures and visual effects. Additionally, you can play with the pastel’s versatility by using the side of the pastel for broad strokes and coverage, and the tip for finer details and precise lines. This approach provides a way to explore the medium’s potential for creating different textures and details within your artwork. By skillfully adjusting the pressure and utilizing different parts of the pastel, you can achieve a variety of nuanced and captivating visual elements in your compositions.
Scratching for Texture:
Oil pastels offer a versatile and engaging medium for tactile exploration and artistic expression. One of the intriguing techniques involves scratching the surface of the pastel to reveal the paper underneath, imparting a distinctive textural element to your artwork. By utilizing a sharp tool such as a toothpick or the corner of a palette knife, you can delicately scratch lines, shapes, or intricate patterns into your drawing, creating captivating visual textures and captivating details. This technique provides a dynamic way to introduce contrast, depth, and visual interest to your compositions. Experimenting with scratching techniques allows you to play with the interplay of colors and reveal the underlying layers, adding a sense of dimension and complexity to your artwork.
Part 4: Finishing Touches and Protecting Your Work
Adding Details:
After establishing your base colors and textures with oil pastels, the next step is to delicately add details to enhance your artwork. These details may encompass highlights, shadows, outlines, or, if you are drawing a portrait, facial features. A light touch is crucial in this stage to avoid overpowering the base colors and textures. To create highlights, experiment with white or light-colored pastels, applying them selectively to areas where light would naturally fall. By gradually building up these lighter tones, you can effectively convey the play of light and add a sense of luminosity to your artwork. Conversely, use darker shades to carefully craft shadows, emphasizing depth and volume within the composition. Employing a subtle touch and thoughtful application of these details will help elevate your work, enriching the visual impact and adding a sophisticated layer of realism or expression.
Fixation for Protection:
Oil pastels are vulnerable to smudging. To protect your artwork, lightly spray it with a fixative specifically designed for oil pastels. Follow the manufacturer’s instructions carefully for optimal results. Choose a well-ventilated area for spraying and avoid over-applying the fixative, as this can dull the colors.
With these quick and fun tips in your arsenal, you’re well on your way to creating stunning oil pastel artwork. Remember, the most important thing is to have fun and experiment! Embrace the vibrant colors and unique textures that oil pastels offer, and let your creativity flow.