Getting Started with Oil Pastels
Oil pastel sketch art is appealing for its vibrant colors and creamy texture. To get started, understanding the basics is key.
Choosing the Right Oil Pastels for Beginners
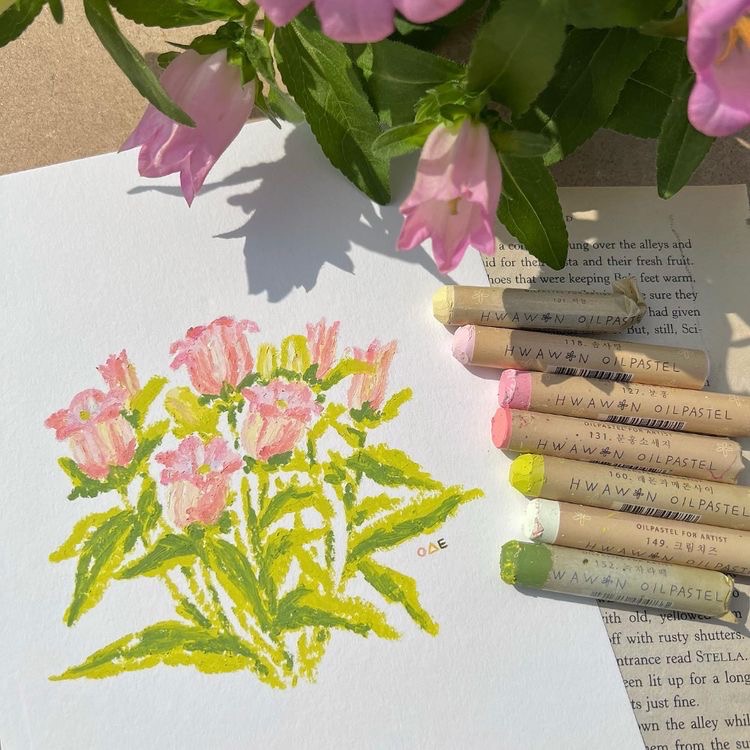
Start your oil pastel journey with the right set. Look for pastels labeled as ‘student grade’ for affordability and quality. Soft pastels offer ease of use, ideal for beginners. Avoid very cheap options as they may lack pigment and be harder to work with.
Essential Tools and Materials
After choosing your oil pastels, collect these essentials:
- Paper: Heavy or textured paper is best for oil pastel sketches.
- Sketchbook: A dedicated sketchbook helps keep your work organized.
- Blending Tools: Use tortillons, paper stumps, or even your fingers for blending.
- Erasers: A kneaded eraser is gentle on pastel and paper.
- Fixative spray: This will help preserve your sketches.
Remember, starting with the right tools and materials sets you up for a rewarding oil pastel sketching experience.
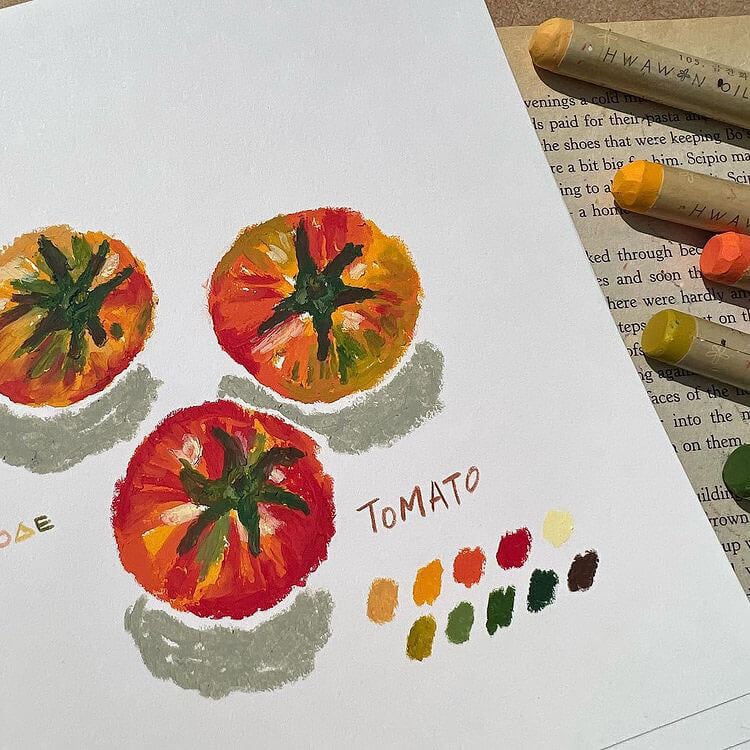
Basic Techniques
Mastering basic techniques is crucial when working with oil pastel sketches.
Layering and Blending
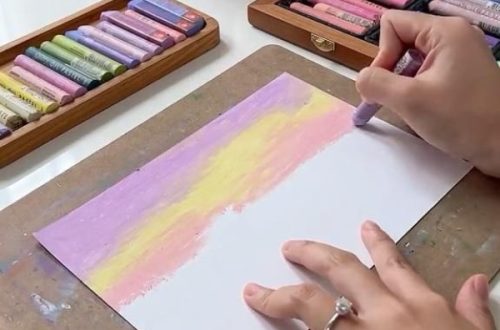
Layering is applying colors on top of each other. This adds depth and richness to your art. Begin with light pressure for the initial layers, gradually increasing as you build up the color. Blending is then used to smooth out the transitions between layers. You can blend with your fingers, a paper stump, or even a blending brush. Remember to clean your blending tool often to avoid muddying colors.
Texturing and Scratching
Texturing adds interest and realism to your oil pastel sketch. Use the edge of a pastel, a comb, or a scratching tool to create lines or patterns. Scratching allows you to reveal lower layers of color, creating a sense of detail and complexity in your work. Experiment with different tools and pressure to discover a wide range of textures.
Step-by-Step Projects
Embarking on step-by-step projects is a practical approach to hone your oil pastel sketch skills. Starting with simple projects allows beginners to apply basic techniques discussed earlier, gradually building confidence and capability. Here are two project ideas that cover different themes and offer room for creative expression.
Simple Landscapes
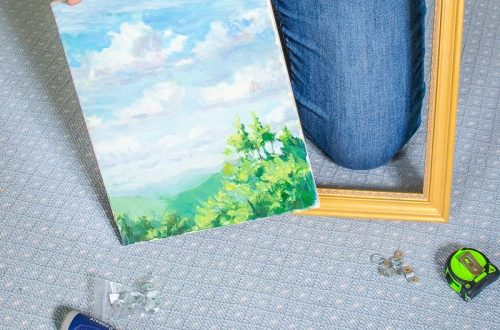
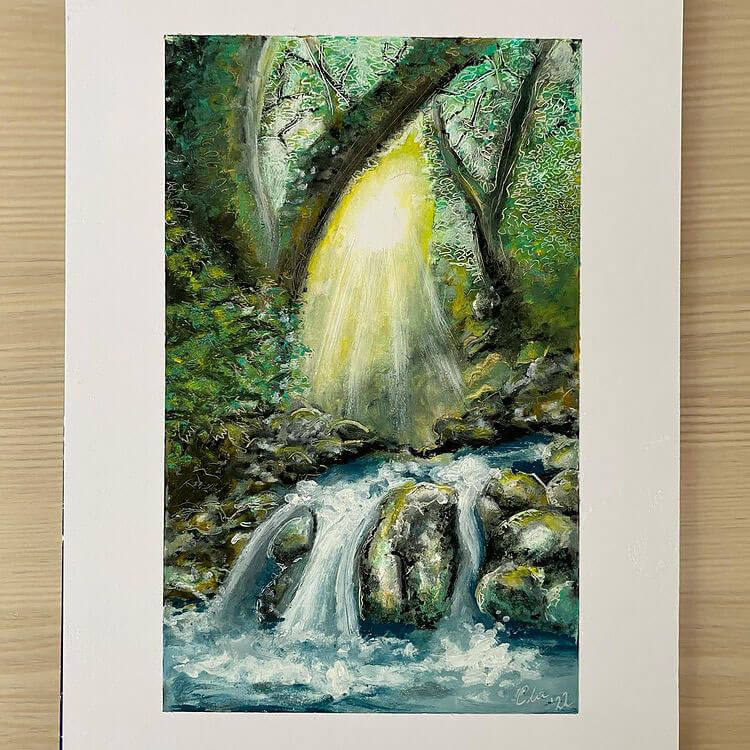
Simple landscapes are perfect for beginning artists. Start with a basic outline of the horizon and major elements like trees or a river. Use light strokes for the sky and darker strokes for the foreground elements. Layer different shades of green, blue, and brown to add depth to your landscape. Remember to blend the colors where the sky meets the land to create a natural transition. Experiment with textures for the trees and grass to add realism.
Vibrant Portraits
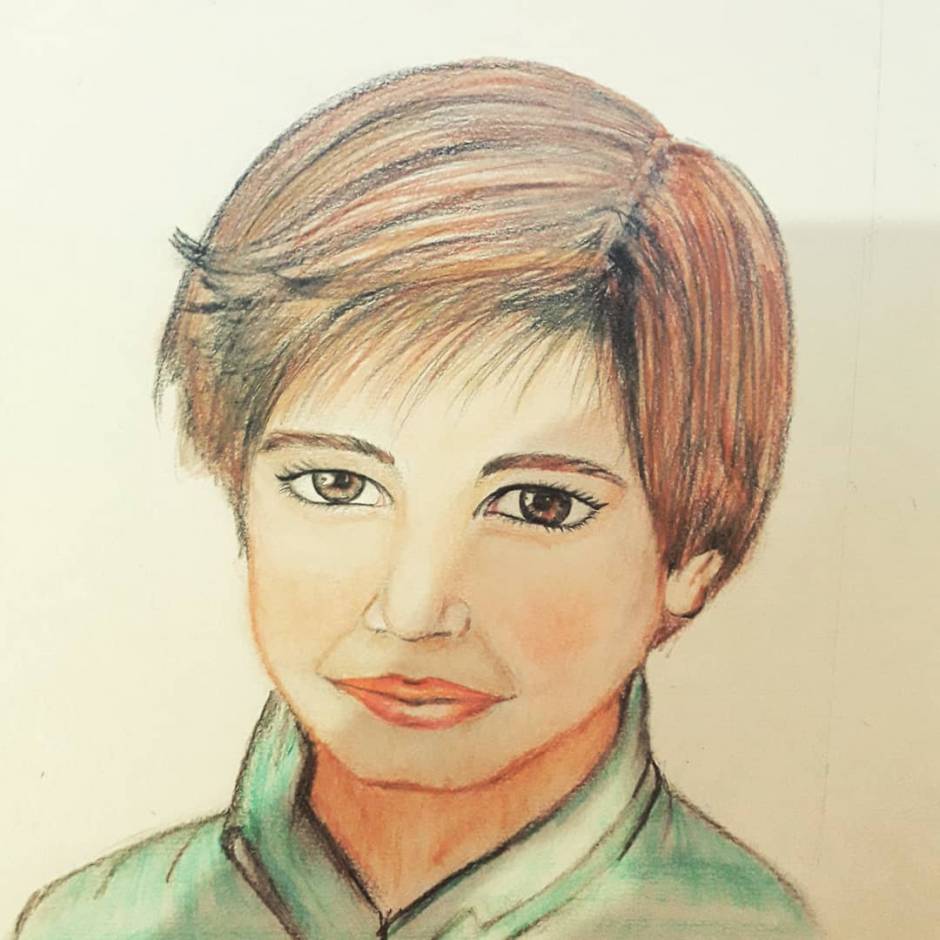
After mastering landscapes, you might want to try creating vibrant portraits. Begin with an outline of the face and major features. Use a light hand to lay the base colors for the skin. Gradually build up darker tones for the shadows under the eyes, nose, and lips. Use vibrant colors like red, purple, and yellow to bring out the character’s personality. Blending is key in portraits to ensure smooth transitions in skin tones and facial features. Pay attention to the expression and eyes, as they often define the mood of the portrait.
Tips for Color Mixing
Understanding color mixing is vital for oil pastel sketches that look alive and three-dimensional. Here’s how to enhance your palette skills.
Creating Depth and Dimension
To create the illusion of depth, use a range of tones. Start with lighter colors for distant objects and move to darker tones for closer elements. Try using complementary colors in layers. This adds contrast and makes your art pop. For the shadows, mix a bit of the complementary color with your base tone. This technique gives the shadow a natural look, instead of just using black or grey.
Achieving Bright and Subtle Tones
For bright tones, apply your oil pastel with firm pressure. Use pure hues and avoid over-blending to keep the color’s vibrancy. To achieve subtle tones, layer colors lightly. Gently blend them to create soft transitions. Use white or a lighter version of the hue to tone it down if it’s too bright. Experiment with color pressure and layering until you get the desired effect.
Remember, blending colors in oil pastel sketch can be a trial and error process. Don’t be afraid to experiment and learn from each piece you create.
Fixing and Preserving Artworks
Ensuring the longevity of your oil pastel sketches requires proper fixing and storage techniques. These precautions keep your artworks vibrant and protected over time.
Choosing the Right Fixatives
Selecting an appropriate fixative is crucial for oil pastel sketches. Opt for a fixative specifically designed for oil pastels to prevent smudging and fading. Spray the fixative evenly from a distance to avoid altering the textures or colors of your sketch. Always test the fixative on a small area first to ensure it doesn’t affect the pigments.
Storage Tips for Oil Pastel Sketches
Proper storage is key to preserving your oil pastel artworks. Use acid-free folders or archival boxes to store your sketches. Keep them in a cool, dry place away from direct sunlight to prevent fading. For added protection, place a sheet of glassine paper between each sketch to avoid any color transfer or sticking. Regularly check your stored artworks for any signs of damage or degradation.
Common Challenges and Solutions
Navigating through common challenges can enhance your technique in oil pastel sketching.
Handling Pastel Dust
Pastel dust can be messy and may compromise your health if inhaled. To manage it:
- Work in a well-ventilated area to disperse any dust.
- Keep a damp cloth nearby to wipe your hands and surface regularly.
- Consider using a fixative spray intermittently while sketching to minimize dust.
Dealing with Color Overlap
Color overlap occurs when lighter colors mix with darker shades unintentionally. To avoid this:
- Start with lighter colors and gradually move to darker shades.
- Use a separate piece of paper to test color interactions.
- Clean your pastels regularly to prevent color transfer.
Adopting these techniques will help address these common issues effectively, ensuring cleaner and more vibrant oil pastel sketches.
Enhancing Your Skills
To take your oil pastel sketch abilities to the next level, continuous learning and practice are key.
Resources for Continued Learning
Making use of a variety of resources can greatly enhance your oil pastel techniques over time. Books, online tutorials, and video demonstrations provide in-depth knowledge and tips. Follow blogs or social media accounts of experienced artists for inspiration and fresh ideas. Visiting art galleries to observe professional work can also spark creativity and offer new perspectives.
Staying updated with the latest trends in oil pastel sketches will keep you informed about new tools and products that can improve your artwork. Additionally, joining online forums or community groups allows you to share your work, receive feedback, and learn from the experiences of fellow artists.
Participating in Workshops and Classes
For hands-on improvement, consider enrolling in workshops or classes. These can be found at local art centers, community colleges, or even online. Workshops provide invaluable opportunities to work alongside skilled instructors and receive direct guidance and personalized feedback on your technique. Classes often cover everything from the basics to more advanced skills, offering a structured way to perfect your craft. Participating in group sessions also allows you to connect with other artists and become part of a creative community.
Remember to practice regularly, apply new knowledge, and embrace mistakes as learning opportunities. This way, you’ll continue to grow as an oil pastel artist.
