Essential Oil Pastel Supplies for Food Illustration
Before you dive into creating with oil pastels, it’s crucial to gather the right supplies. Quality materials can significantly affect the outcome of your oil pastel food drawing. Here’s a list of essentials you’ll need:
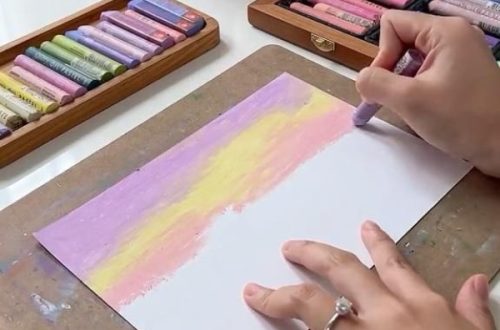
- Oil Pastels: Select a set with a wide range of colors to have a diverse palette for your food illustrations. High-quality pastels will offer better pigmentation and blending capabilities.
- Paper: Use thick, textured paper designed for oil pastels to achieve the best results. Paper with a good tooth will hold onto the pastel better and allow for fine layering and texturing.
- Blending Tools: Get your hands on blending stumps or tortillons. These tools help in smoothly blending the pastels without creating a mess.
- Fixative Spray: A workable fixative spray is essential for setting layers as you work and preserving the final artwork. Always choose one that’s specifically compatible with oil pastels.
- Erasers: An oil pastel friendly eraser is necessary for correcting mistakes or adding highlights. Kneaded erasers are particularly effective as they can be shaped to erase small, precise areas.
- Pencil & Sharpener: Keep a pencil for sketching outlines before applying color, and a sharpener to keep your blending tools pointed.
- Paper Towels or Cloths: These are invaluable for cleaning blending tools and hands during the drawing process.
With these essential supplies, you’ll be well-equipped to start your journey into the vibrant world of oil pastel food drawing. Remember, investing in good quality materials can significantly enhance your art’s appearance and make the process more enjoyable.
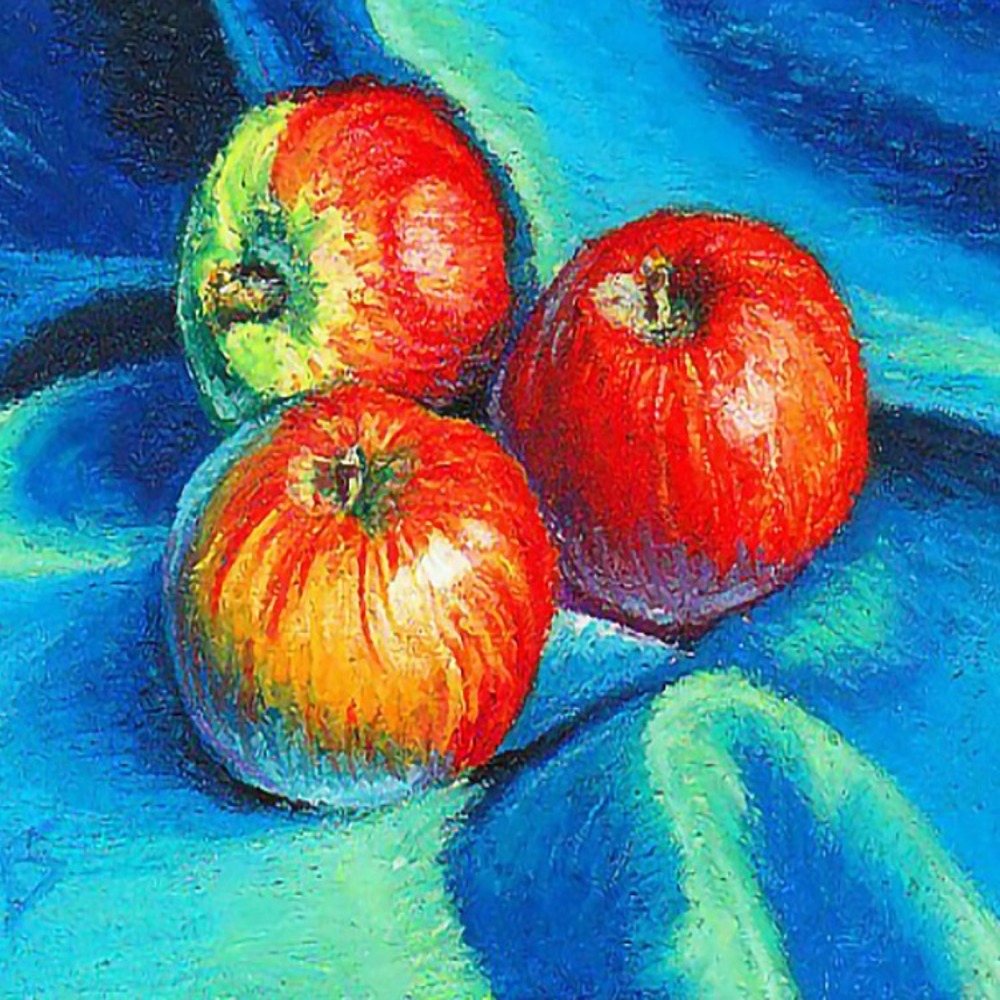
Step-by-Step Guide to Drawing Foods with Oil Pastels
Creating stunning food illustrations with oil pastels can be tremendously rewarding. Here is a simple guide to help you capture the essence of delicious foods on paper:
- Choose Your Subject: Decide on a food item you’d like to draw. Fresh fruits, vibrant vegetables, or a slice of cake make appealing subjects.
- Sketch Your Outline: Lightly draw the basic shape of your food using a pencil. Keep the lines faint so they won’t show through the pastels.
- Block in Base Colors: Choose a few primary colors from your oil pastel set. Apply them to the main areas of your subject.
- Add Mid-Tones: Look for areas of mid-tone shades in your food item. Apply and blend these colors with your base layer.
- Deepen the Dark Areas: Identify the darkest parts of your subject. Use darker pastels to give depth to these areas.
- Highlight the Highlights: Using lighter pastels, add in the bright spots where light naturally hits the food.
- Refine and Detail: Add details such as textures and patterns. Use sharp points of pastels or tools for fine lines.
- Blend for Realism: Utilize blending tools to mix colors right on the paper. Blend lightly for subtle transitions.
- Adjust Details as Needed: Step back and look at your drawing. Make any necessary changes to improve its accuracy and appearance.
- Apply Fixative: Once satisfied, spray your drawing with a fixative to protect it.
Follow these steps, and you’ll bring your oil pastel food drawing to life with vibrancy and charm. Remember, practicing these steps will help hone your skills and enable you to produce more nuanced artwork over time.
The Importance of Color Selection in Food Art
Choosing the right colors is crucial when creating food art with oil pastels. The colors you select can make your artwork pop and give it a lifelike quality. Here’s why color selection is so vital in food art, especially when dealing with oil pastels.
Reflect the Nature of the Food
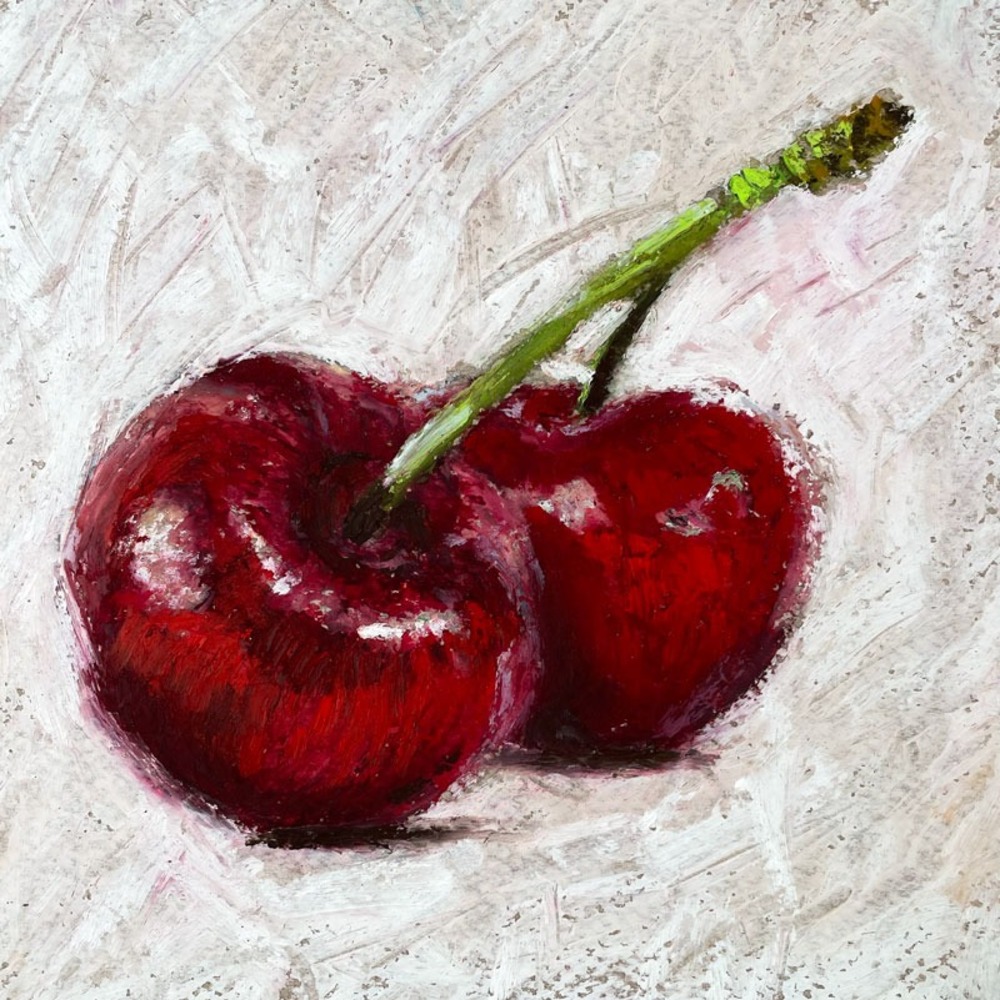
Colors represent the freshness and ripeness of food. Bright, vibrant colors suggest freshness and are appealing. For example, a bright red for apples or deep green for leaves can enhance the natural look of your drawing.
Set the Mood of the Composition
Colors can also control the mood of your artwork. Warm colors like red, orange, and yellow can evoke feelings of warmth and comfort. Cooler colors like blue and green can have a calming effect. Choosing the appropriate color palette can convey the desired emotion to your viewer.
Increase the Realism
Accurate color matching is essential for realism. Observing the subtle color tones in your food subject and reproducing them with oil pastels can make a significant difference. It distinguishes your art from amateur works.
Influence Visual Depth and Texture
Using contrasting colors can help highlight texture and depth. For instance, utilizing a dark shade against a lighter one can emphasize shadows and contours.
Remember, experimenting with different colors and observing their effects in your oil pastel food drawing is an excellent way to master this art form. Practice will make your selections more intuitive and your artwork more expressive and engaging.
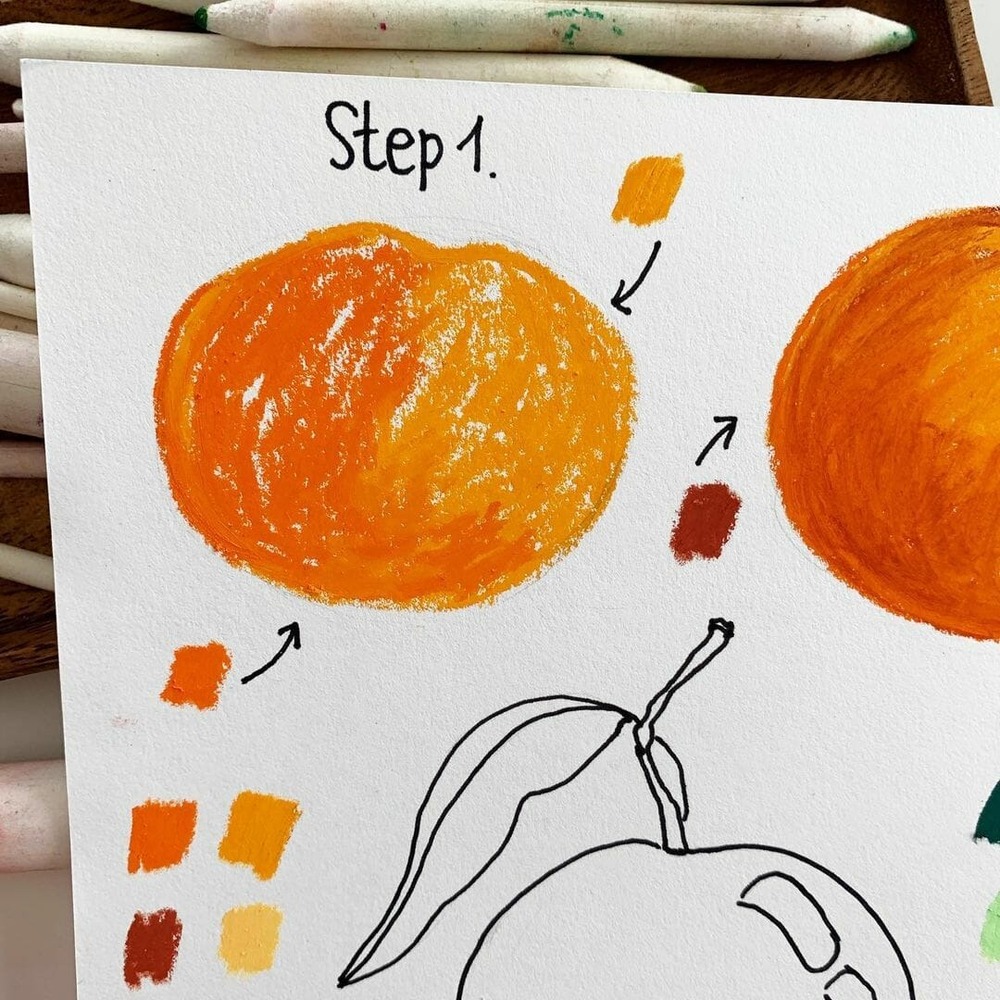
Blending Techniques for Realistic Food Textures
Blending is a key element in oil pastel food drawing. It helps create the textures that make food art look real. Here’s how you can achieve realistic textures using blending techniques.
Choose the Right Blending Tools
Start with blending stumps or tortillons for precise control. These tools let you soften edges and mix colors close together without a mess.
Apply Light Pressure
When blending, use light hand pressure. This prevents the colors from becoming muddy. It allows for gentle transitions between shades, essential for realistic textures.
Layer Colors Thoughtfully
Build up colors in layers before blending. This method lets you create rich textures. Begin with lighter colors and gradually add darker tones for depth.
Blend Gradually
Take your time to blend colors gradually. Rushing can ruin the subtle textures of food. Slow, careful blending brings out the best in your oil pastel food drawing.
Use a Clean Tool for Each Color
Keep your blending tools clean. Use a different tool or edge for each color. This avoids unwanted color mixing and keeps your textures crisp.
Directional Blending
Blend in the direction of the food’s texture. For instance, follow the curve of an apple or the lines on a piece of bread. This adds to the realism.
Utilize Finger Blending Sparingly
Your fingers can also blend colors, but use this sparingly. Oil from your skin can affect pastel application. Reserve this for large areas or soft textures.
Fix Layers Between Blending
Spray a light fixative between layers. This keeps colors in place while you add and blend new ones. Remember to let each layer dry before adding the next.
Blending techniques can make or break your oil pastel food drawing. Practice these tips, and you’ll be able to create textures that look good enough to eat.
Layering Colors to Achieve Depth and Dimension
Layering colors is essential in oil pastel food drawing to achieve a realistic look. Here are steps to master depth and dimension with oil pastels:
- Start with Light Colors: Begin your artwork with the lightest colors. These form the base and are often cooler tones.
- Add Mid-Tones: As you progress, introduce mid-tones. These colors bring warmth and complexity to your drawing.
- Introduce Dark Tones: Use dark tones to create shadows. These add depth and make your food items pop against the background.
- Consider the Color Temperature: Balance warm and cool colors. This contrast enhances the visual depth.
- Focus on the Edges: Pay attention to the edges of food items. Use darker colors to outline and define shapes.
- Build up the Texture: Continue adding color layers. Each layer should follow the natural texture of the food.
- Blend Carefully: Blend colors where necessary. However, keep some areas crisp to maintain dimension.
- Highlight with Bright Colors: Finally, use vibrant colors for highlights. Apply them where the light naturally hits the food.
By following these steps, you can create an oil pastel food drawing with incredible depth and realism. The more you practice, the more natural these techniques will become. Keep experimenting with different color combinations and layering methods to enhance your artistic expression.
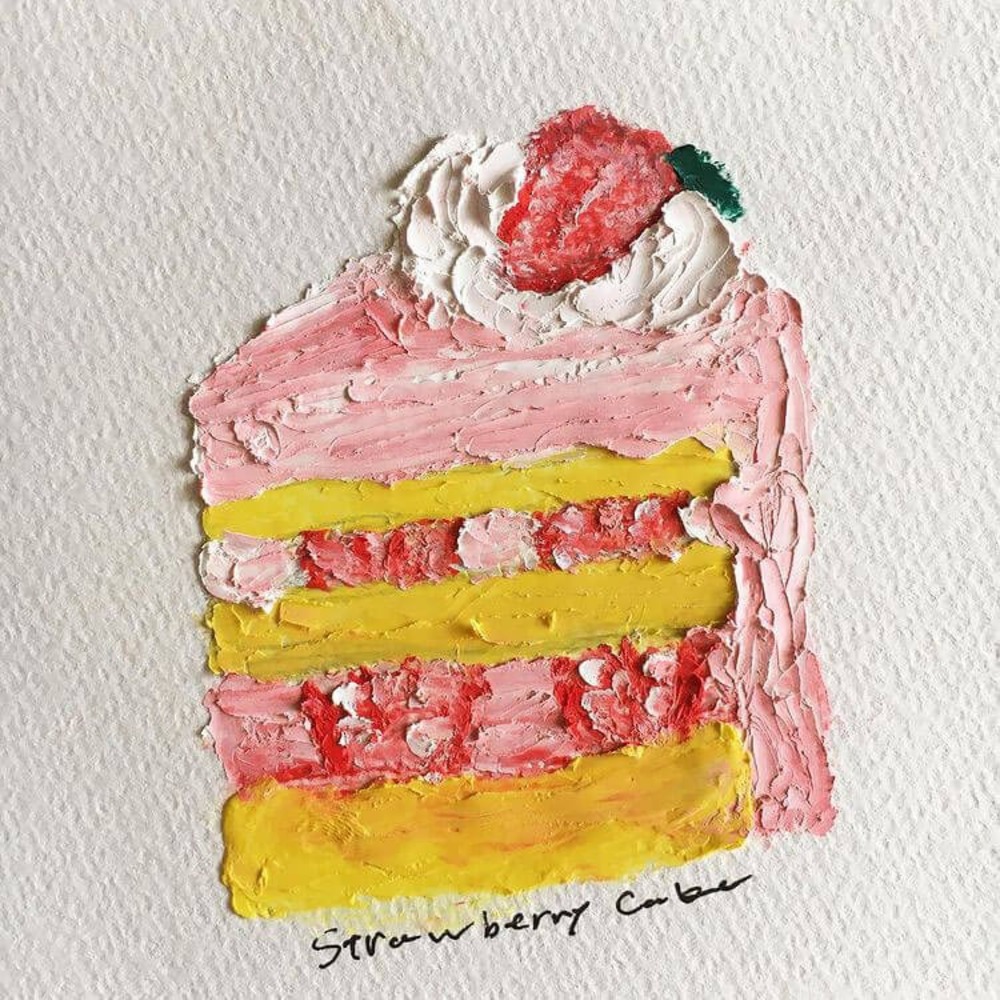
Capturing Light and Shadow in Oil Pastel Food Drawings
To create lifelike oil pastel food drawings, mastering light and shadow is essential. These elements add depth and dimension, making your artwork more realistic. Here are key tips to capture light and shadow effectively:
- Observe Your Subject: Look at how light plays on your food subject. Notice highlights and shadows. This observation guides you where to place them in your drawing.
- Use a Light Source: Imagine a consistent light source. It helps create accurate shadows and highlights. Stick to your chosen direction.
- Start with Shadows: Lay down shadows first using darker pastels. They define the form of your subject and set a foundation for the light effects.
- Add Highlights Last: Use lighter shades for highlights. These should be the brightest parts where light directly hits the food.
- Blend Shadows Gently: Soften shadow edges with blending tools. Smooth transitions make shadows appear more natural.
- Keep Highlights Sharp: Contrast is key. Keep highlights clean and less blended. This makes them stand out against the darker areas.
- Create Mid-Tones: Between light and dark, add mid-tones. They bridge the gap and give a three-dimensional effect.
- Adjust Contrast: Enhance contrast where needed for a dramatic look. Pay attention to the balance between light and dark.
By focusing on these aspects, you can improve the realism in your oil pastel food drawings. The interplay of light and shadow will bring your subjects to life, making them more appetizing and appealing.
Creative Tips for Composing Compelling Food Artwork
Creating compelling food artwork with oil pastels requires more than just technique; it needs creativity and a strong composition. Here are some creative tips to guide you:
- Choose a Focal Point: Every artwork needs a star. Select a main element and position it to catch the eye immediately.
- Play with Angles: Don’t just settle for the ordinary top-down view. Try different perspectives to make your piece unique.
- Use Negative Space: Leave parts of your drawing empty. It helps to draw attention to the main subject and gives your art a clean look.
- Vary the Sizes: Mix large elements with smaller ones. This contrast adds interest and keeps the viewer engaged.
- Create a Story: Imagine a scene. Is it a picnic, a feast, or a quiet breakfast? Stories evoke emotions and make your art relatable.
- Consider Composition Rules: Apply the rule of thirds or the golden spiral. These can help in creating a pleasing layout.
- Play with Colors: Use unexpected colors for a whimsical touch or stick to realistic shades for classic appeal.
- Textures and Layers: Incorporate a variety of textures and layers to give your drawing a rich and tactile feel.
- Keep a Reference: Having a photo or the actual food as a reference can improve accuracy and inspire details.
- Check the Balance: Step back and view your artwork as a whole. Adjust elements to ensure a harmonious balance.
Following these tips will not only hone your oil pastel food drawing skills but also infuse your artwork with originality and character. Most importantly, have fun and let your creativity lead the way.
Finishing Touches: Preserving and Displaying Your Oil Pastel Creations
Once you’ve completed your oil pastel food drawing, it’s time for the finishing touches. These last steps ensure your artwork looks great for years to come. Here’s what to focus on:
- Secure Loose Pastel Particles: Gently tap the back of your paper to remove any loose pastel. This prevents smudging.
- Seal with Fixative: Apply a final layer of fixative spray to preserve your work. This keeps the pastel from rubbing off.
- Use a Matte: Mount your drawing on a matte to create a border. It helps your artwork stand out.
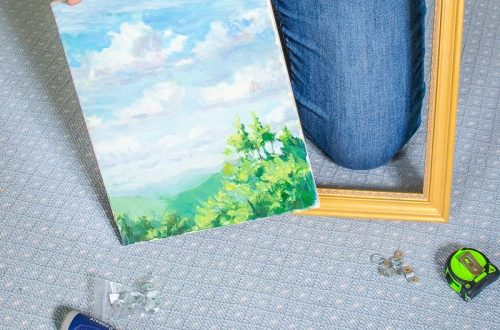
- Choose the Right Frame: Find a frame that complements your art. A frame with glass protects the pastel from dust and touches.
- Display in the Right Spot: Hang your artwork away from direct sunlight and high humidity. These conditions can fade and damage oil pastels.
- Regular Cleaning: Dust your drawing with a soft brush. This maintains its vibrant look without harming the surface.
- Rotate Art Displayed: Change the displayed artwork every so often to reduce exposure to environmental wear.
Preservation is key for your oil pastel creations. Proper framing and care will show off your food drawings at their best. Remember these final steps to keep your artwork in prime condition and enjoy the beauty of your oil pastel food drawing for a long time.
