Preparing Your Art Surface
Before you begin your oil pastel galaxy, a solid preparation of your art surface is crucial. Start with a high-quality Cotton Watercolour Paper. This type of paper absorbs oil pastel well and helps in blending the colors effectively. Ensure the paper is adequate in size to allow your creativity to unfold freely.
Securing Watercolour Paper
Firstly, you need to secure your watercolour paper firmly in place. Doing so prevents the paper from moving or buckling as you apply the watercolour and oil pastel layers. Gently tape the edges of the paper down onto your work area. Use a low-tack tape designed for art surfaces to avoid damaging the paper when you remove it. Make sure that the paper lies flat and is stretched well. This step sets the foundation for a stable drawing process, enabling you to focus on creating your oil pastel galaxy without any interruptions due to paper shifting.
Creating the Galaxy Background
Crafting the background of your oil pastel galaxy is a thrilling step in this artistic journey.
Painting the Foundation with Black Watercolour
To start, mix black watercolour paint with some water to achieve a good flow. Apply this mixture generously across your Cotton Watercolour Paper using a wide Hake brush. Your strokes should be even to ensure consistent coverage. Let the layer dry completely before proceeding. This black base acts as the deep void of space, setting the stage for your galaxy’s dazzling elements.
Adding Star Effects with White Paint
Once your black foundation is dry, it’s time to sprinkle the stars across your galactic canvas. Dip a medium bristle brush in water and then into white watercolour paint. Use this loaded brush to flick white paint onto the black background. The key is to use a swift motion—like snapping your fingers—to create a realistic starry effect. Vary the angle and force of your flicks to simulate different star densities. Remember to let this layer dry thoroughly. These white specks represent distant stars and will give your drawing an authentic galactic feel.
Crafting the Cosmic Clouds
To give your oil pastel galaxy depth and life, next we dive into crafting the cosmic clouds. These form an essential backdrop for the interstellar narrative your artwork will convey. Let’s explore how to infuse vibrancy into those clouds, layer by layer.
Layering Blue Tones with Ultramarine and Azure
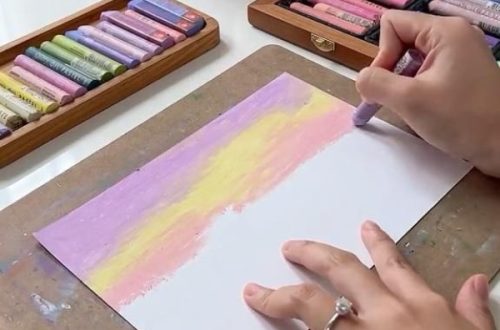
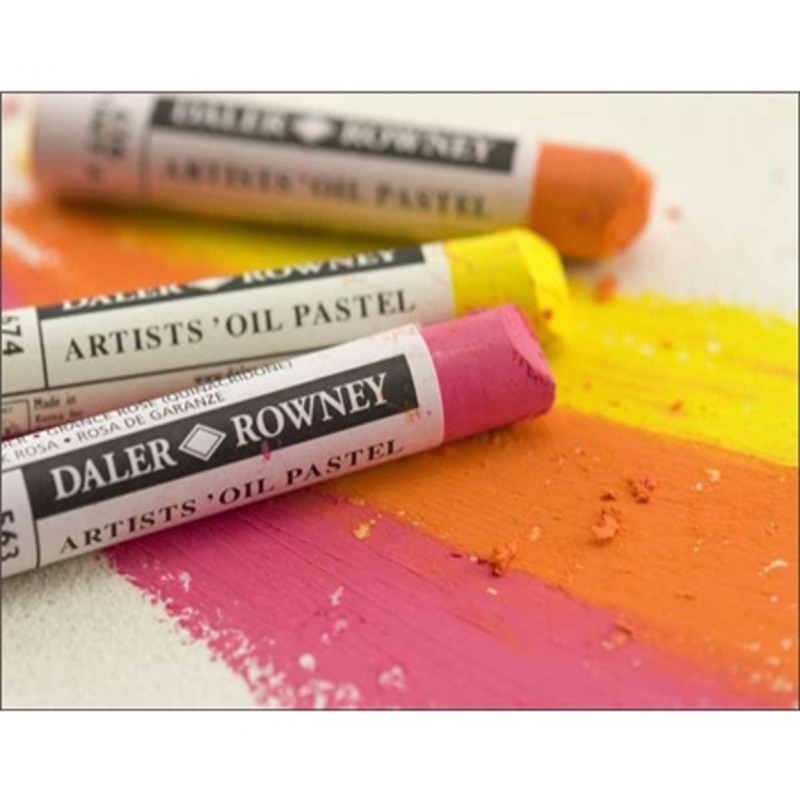
Begin by applying Ultramarine blue to your galaxy base. Use a gentle touch to lay down the pastel, creating the first layer of your cosmic cloud. Over this, add strokes of Azure blue, layering to build depth. The key is to work lightly and build coverage slowly. By using Ultramarine and Azure, you create a rich, deep sky effect that resembles the natural shades of a galaxy. Think of these blues as the backbone of your cosmic clouds.
Incorporating Warm Hues with Scarlet and Vermillion
Warm hues add contrast to your galaxy and signify the fiery energy of stars being born. Using oil pastels in Scarlet, blend them into areas of the blue tones. Next, introduce Vermillion. These reds and oranges will mix with the blues to create beautiful purple transitions. Blend them smoothly to avoid harsh lines. The goal is to have a natural and cohesive cosmic appearance. These colors will give the impression of glowing nebulae within your galaxy.
Brightening with Yellow and White Highlights
Accent your cosmic clouds with splashes of Yellow. This adds another layer of luminance and brings complexity to your clouds. Follow up with White to lighten certain areas and enhance the sense of illumination. By doing this, you mimic the look of reflecting light and intensify areas that appear closer to the viewer. Your galaxy will start to pop out with these lighter tones, giving it a more three-dimensional feel. Remember, build up the color slowly and blend carefully for the most natural effect.
Blending Techniques for a Nebulous Effect
To achieve the soft, diffuse look typical of a galaxy, blending is key. Here’s how to make your oil pastel galaxy appear seamless and dynamic through effective blending techniques.
Softening Edges with Blending Stumps
Blending stumps are essential tools for softening the harsh edges between colours in your oil pastel galaxy. Gently rub the blending stump over the area where two colors meet. This action creates a gradient that mimics the natural flows of a galaxy’s cloud. Lighten areas by gently dabbing with a clean part of the blending stump over the top layers. Always move in a small, circular motion for the best blur effect.
Merging Colours for Cloud Formation
To merge colours effectively and form the ethereal cloud structures of your galaxy, lay adjacent colors next to each other. While they are still fresh, use a clean, dry blending stump to gently push one color into the other. This should be done delicately to prevent muddying the colors. Utilise small circular or back-and-forth motions to seamlessly combine the edges. This technique helps create an illusion of depth and volume, enhancing the nebulous effect of your cosmic scenery. Each color transition should be smooth, mimicking the gentle shifts seen in the night sky.
Adding Depth and Dimension
Once your cosmic clouds take shape, it’s time to add depth and dimension to your oil pastel galaxy. This involves layering and enhancing star patterns to give richness and a three-dimensional appearance to your artwork.
Increasing Star Density with Flicking Techniques
Add more stars by using the flicking techniques discussed earlier. Now, focus on areas where stars cluster, such as the heart of the galaxy. Use a medium bristle brush dipped in white paint. Flick the paint onto the canvas to simulate dense star areas. Mix light flicks with heavy ones to create various star sizes. This gives the illusion of stars that are far away and those that are near. Mastering the density and distribution of these flicks will bring your galaxy to life.
Dotting Larger Stars for Effect
For a final touch, dot larger stars to add realism. Take a small blending stump and dip its point lightly into white paint. Press it onto your drawing to create bigger, brighter stars. Place these strategically within your galaxy, possibly where you see natural gaps or around the edges of cosmic clouds. This small detail can make a significant impact, suggesting stars closer to the viewpoint. The contrasting sizes of stars contribute to the depth and dimension of your oil pastel galaxy masterpiece. Remember to control your pressure, as too much can smear the stars rather than define them.
Finishing Touches
After layering, blending, and adding stars to your oil pastel galaxy, it’s time for the finishing touches. This last stage is about refining what you’ve created, making sure every part of your galaxy looks just right.
Reviewing and Perfecting Colour Layers
Start by stepping back and reviewing your artwork from a distance. Look for areas that might need more depth or brightness. Add more layers of oil pastel where needed to enhance the vibrancy of your cosmic clouds. Focus on the balance of colors; you might want to intensify the blues or warm hues in certain spots. Use soft, rounded strokes to apply additional color, and blend gently to maintain the nebula-like quality.
If some parts of your galaxy look too sharp or defined, use your blending stumps to soften the transitions between colors. This helps to unify your galaxy’s appearance and give it a more realistic look. Add touches of white to brighten stars or highlight the edges of clouds, which can really make your galaxy pop. Furthermore, consider adding a hint of sparkle or shimmer using a lighter oil pastel. Just a few strokes can create the effect of twinkling stars or a glowing aura around cloud formations.
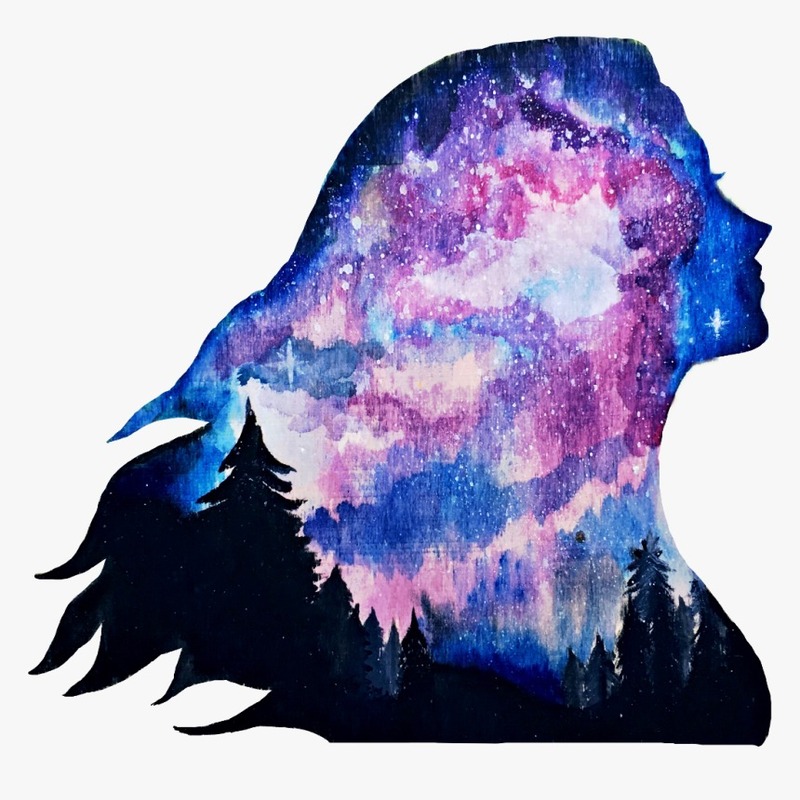
Finally, erase any unwanted marks or smudges with precision. If you used low-tack tape to secure your paper, carefully remove it to reveal clean, sharp edges. Stand back and admire your homemade universe, a stunning oil pastel galaxy that you brought to life with patience and creativity. With every addition and adjustment, remember to step back and view the whole picture to ensure it’s coming together harmoniously. Your artwork is a testimony to your skill and dedication, a cosmic masterpiece to be proud of.
