Essential Supplies for Watercolor Pen Art
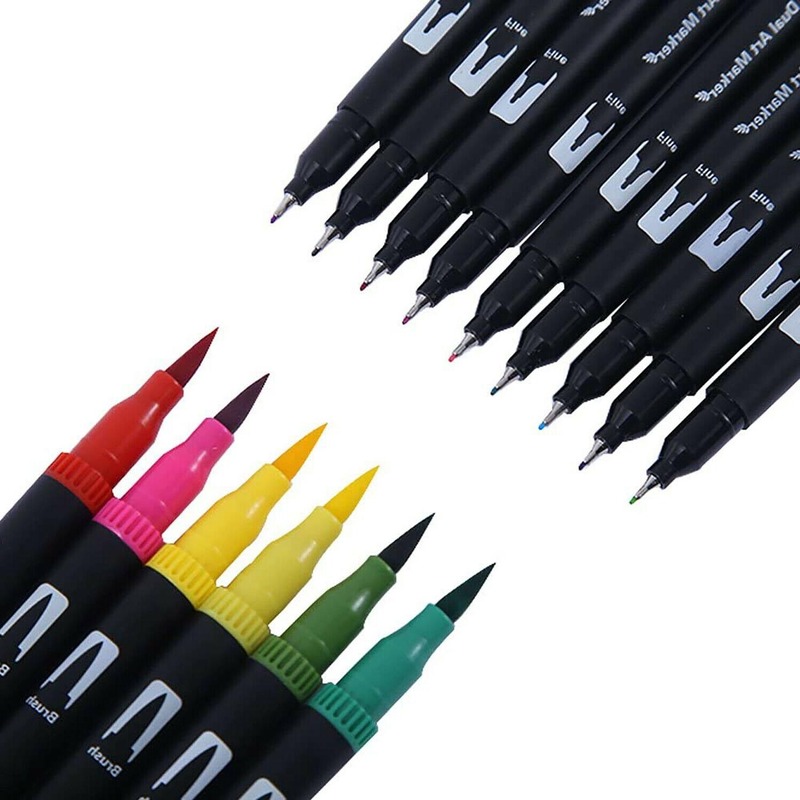
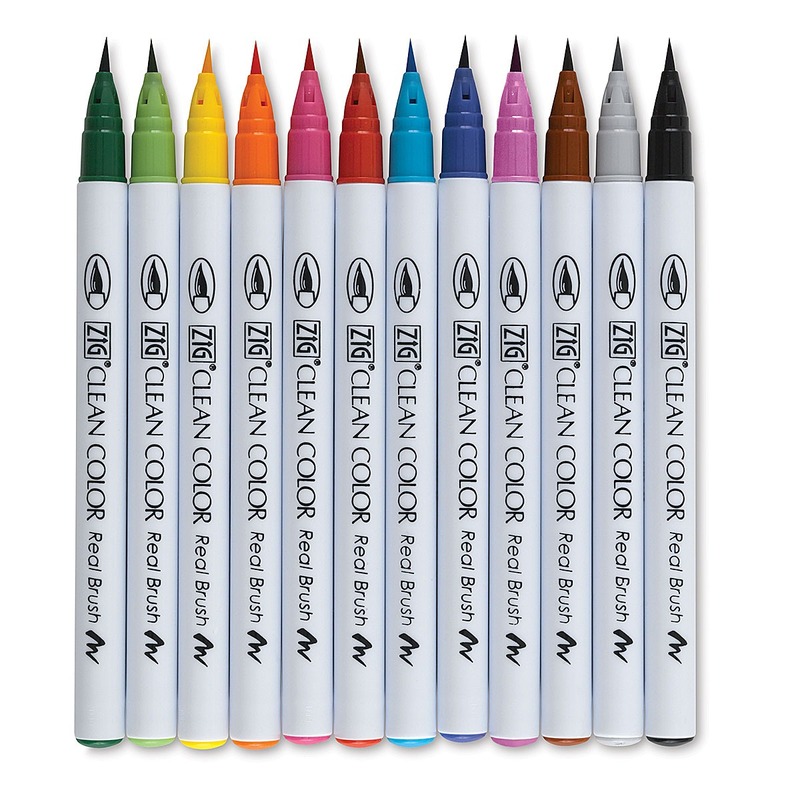
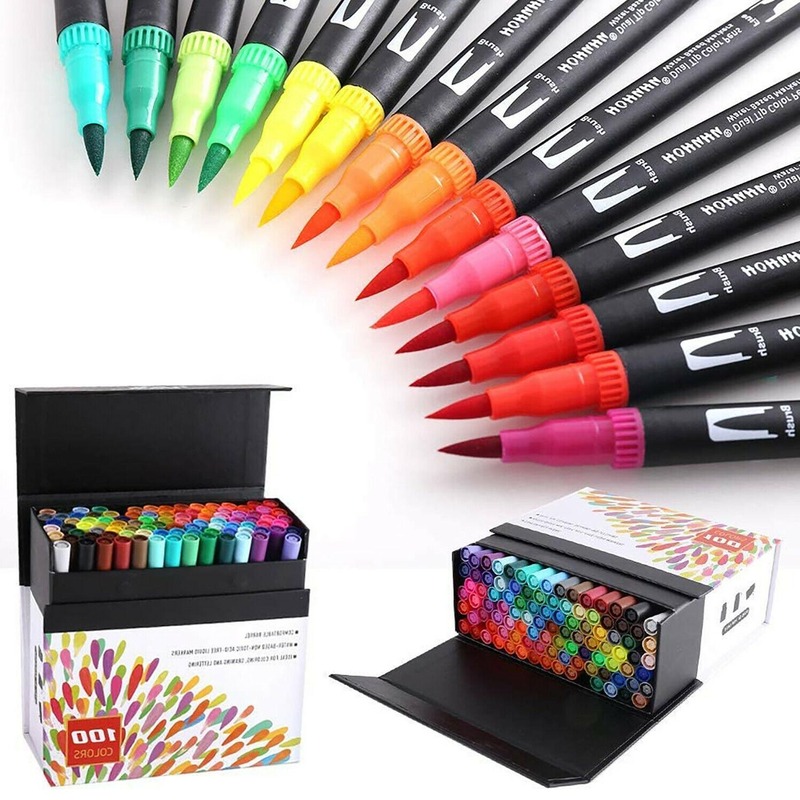
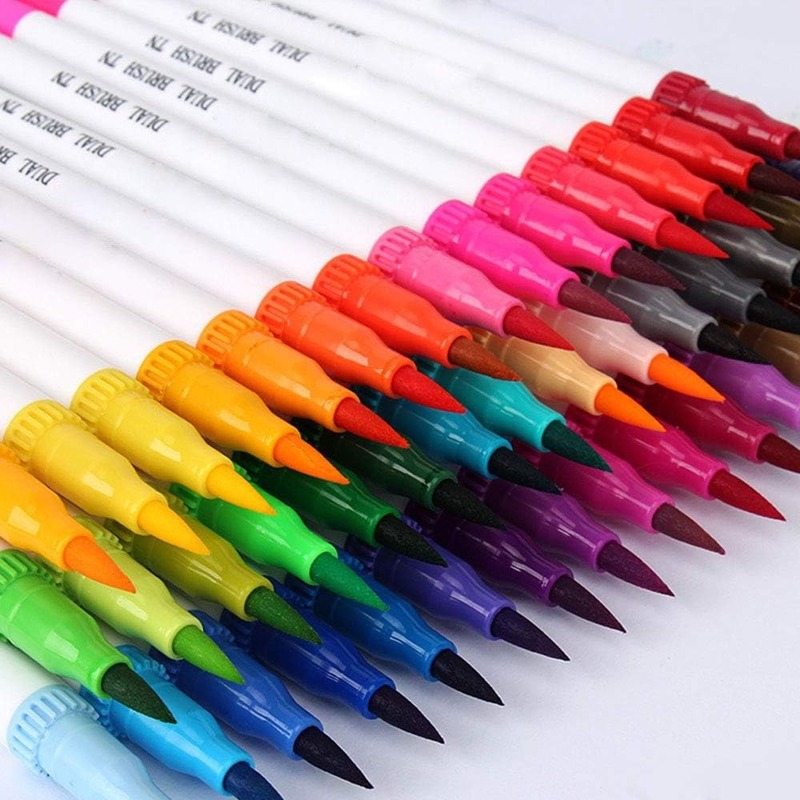
To start your journey with water color pen art, assembling the right supplies is crucial. Quality water color pens come in a spectrum of hues and are the cornerstone of your artwork. Look for pens with a good range of colors and those that offer different tip sizes for versatility. High-grade watercolor paper is a must-have as it is specifically designed to absorb water without warping. You’ll also need a palette for mixing colors, even though you’re not using traditional paints. Brushes are handy for blending and refining your work; invest in a few water brushes as they store water in their handle for easier flow control.
A clean jar of water is essential for washing brushes between colors. Paper towels or a sponge can help dab excess water or paint. Finally, consider a waterproof fineliner for adding sharp details to your work after it dries. Every item plays a role in the creativity and execution of your water color pen art, making your experience enjoyable and your artwork impressive.
Difference Between Watercolor Pens and Traditional Brushes
Water color pen art offers a unique blend of traditional watercolor painting and modern convenience. One might wonder how water color pens differ from the classic brushes used in watercolor painting. The primary difference lies in their design and use.
Traditional brushes require a separate palette and water source. Watercolor pens, however, incorporate their own reservoir. This design simplifies the painting process. With water color pens, you squeeze the pen to release water directly to the tip. This is not possible with traditional brushes.
The tips of watercolor pens are often felt or nylon and can mimic brush strokes. Yet, they offer more control, which is particularly beneficial for beginners. Traditional brushes can vary greatly in shapes and sizes, providing a wider range of textures and lines.
Furthermore, watercolor pens are easy to set up and clean, making them very portable. Brushes, on the other hand, require more preparation and cleanup time. This makes water color pens ideal for on-the-go artists or those with limited working space.
In summary, watercolor pens are versatile, user-friendly, and mobile. Traditional brushes demand a bit more skill and preparation, but they allow for a broader artistic expression. Both tools have their place in an artist’s repertoire, each providing distinct advantages for creating stunning artworks.
Basic Watercolor Pen Techniques
To start creating with water color pen art, mastering some basic techniques is essential. These foundational approaches will help you to achieve a wide range of effects and broaden your artistic range. Let’s dive into some of the techniques that can enhance your watercolor pen artworks.
Wet-on-Wet Technique
The wet-on-wet technique involves applying water color pen ink onto a wet surface. This process allows colors to blend seamlessly on the paper, creating soft transitions and subtle gradients. Here’s how you do it:
- Apply a generous amount of clean water to your watercolor paper with a brush.
- While the paper is still wet, draw with your water color pen on top.
- Watch as the ink spreads and interacts with the water, creating a fluid effect.
This technique is perfect for creating backgrounds or achieving a washed-out look.
Dry Brush Technique
Contrary to the wet-on-wet approach, the dry brush technique uses a dry watercolor paper surface. Here’s how to utilize this technique:
- Ensure your paper is completely dry before you start.
- Using the water color pen, add strokes with a light pressure for fine lines or heavier pressure for bold strokes.
- The dry paper will cause the ink to streak, which creates texture and depth.
The dry brush technique is excellent for adding details and depicting textures such as grass or bark.
Blending and Layering with Watercolor Pens
Blending and layering are key in water color pen art to create depth and vibrancy. These techniques allow artists to mix colors directly on the paper and build up layers for a more complex effect. The process can be quite simple, but it requires patience and a gentle touch. Below are steps on how to blend and layer effectively with watercolor pens.
- Start with light colors first when blending. Apply a stroke of the lighter shade on your watercolor paper.
- Before the ink dries, overlay a stroke of a darker color close to the first one.
- Use a clean, damp brush to gently blend the edge where the two colors meet. This will create a smooth transition.
- For layering, wait for the first color to dry completely.
- Once dry, apply a second layer of color over it. This can intensify the shade or add new hues.
- Experiment with the angle and pressure of your watercolor pen to affect the thickness and intensity of the layers.
Remember, too much water can dilute the colors and make them run, while too little may not blend them sufficiently. Learning to control the water flow is important, which we will discuss later in ‘Tips for Controlling Water Flow’. With practice, blending and layering with water color pens will become instinctual, giving you the ability to create dynamic, multidimensional works of art.
Creating Textures and Patterns
Using water color pen art to create textures and patterns can significantly enhance the visual interest of your art. Textures, in particular, can bring a piece to life, make it look more realistic or give it that extra flair. Here are steps to create engaging textures and patterns with water color pens:
- Experiment with different strokes. Try dots, dashes, lines, and scribbles to see what textures they create.
- Use the tips of the pens for fine details and the sides for broader marks.
- Layer different colors. Layering can add depth to your patterns and textures.
- Practice consistency. Repeating a pattern or texture can create a rhythm in your art.
- Play with light and dark shades. Contrast can define and accentuate textures and patterns.
Patterns can range from simple geometric shapes to complex, organic forms. With water color pens, you can easily repeat shapes in a sequence to form a pattern. Remember to let layers dry before adding new ones to maintain sharp lines and avoid unwanted smudging. As you become more comfortable with these techniques, you’ll find that your ability to create diverse and eye-catching textures and patterns improves, making your water color pen artworks stand out even more.
Tips for Controlling Water Flow
Controlling water flow is vital in water color pen art. It can make or break your work. Better control gives a cleaner, more professional look. Here are some practical tips:
- Start with a light touch when applying water. More water can be added as needed.
- Use a water brush to regulate water flow to the paper. Squeeze gently for a consistent stream.
- Test on scrap paper before applying to the artwork. It helps avoid oversaturation.
- Pay attention to paper quality. Good watercolor paper absorbs water evenly and prevents pooling.
- Have patience; let layers dry. Rushing can smudge your work and ruin subtle gradients.
- Practice makes perfect. Try various pressure levels and water quantities to find what works best.
By mastering these tips, artists can better control the wetness of their artwork. This control is crucial for achieving desired blends and textures in water color pen art.
Advanced Techniques for Experienced Artists
As you grow in your water color pen artistry, it’s time to explore advanced techniques. These methods will challenge your skills and introduce new possibilities to your artworks. For experienced artists, mastering these advanced water color pen techniques can be both rewarding and a true testament to your artistic development.
Mastering Gradient Transitions
The finesse of gradient transitions can make your art look professional. Here are simple steps to master gradients:
- Choose two complementary colors for your gradient.
- Color the area where you want the gradient with the lighter tone.
- While the ink is wet, apply the darker tone at one end.
- Use a water brush to fuse the colors where they meet.
- Gently push the darker color into the lighter one for a smooth transition.
Consistent practice with gradient transitions will improve your blending finesse in water color pen art.
Combining Watercolor Pens with Other Mediums
Incorporating multiple mediums with water color pens can create complex artworks. Here are tips for harmonious blends:
- Layer thin, transparent watercolors over water color pen strokes for delicate shifts in color.
- Apply colored pencils to add sharp details over a water color pen base.
- Use white gel pens or acrylics to add highlights or correct mistakes.
Experimenting with different materials alongside water color pens can bring unique textures and depth to your masterpieces. Continue to practice these advanced techniques to enhance your water color pen art experience.
Preserving and Protecting Your Watercolor Pen Art
To ensure your water color pen masterpieces last, proper preservation is key. Here’s how to protect your art:
- Use acid-free materials when creating and framing your work. Acid can cause paper to yellow over time.
- Frame with UV-protective glass to prevent sunlight from fading the colors in your artwork.
- Mount your art properly using archival-quality tape or corners. Avoid glue or sticky substances that degrade.
- Store in a cool, dry place to protect against moisture and temperature changes. These factors can damage your art.
- Keep art away from direct light sources as constant exposure can cause fading and discoloration.
- Handle with clean hands or cotton gloves. Oils and dirt from hands can transfer to the art.
- Avoid rolling your artwork if possible. Keeping it flat prevents creases and cracks in the paint.
- Use a protective spray if your water color pen ink is not waterproof. This adds an extra layer of defense.
By following these tips, you give your watercolor pen art the best chance to stand the test of time. This way, the vibrant colors and delicate shades you worked so hard to create remain beautiful for years to come.