Introduction
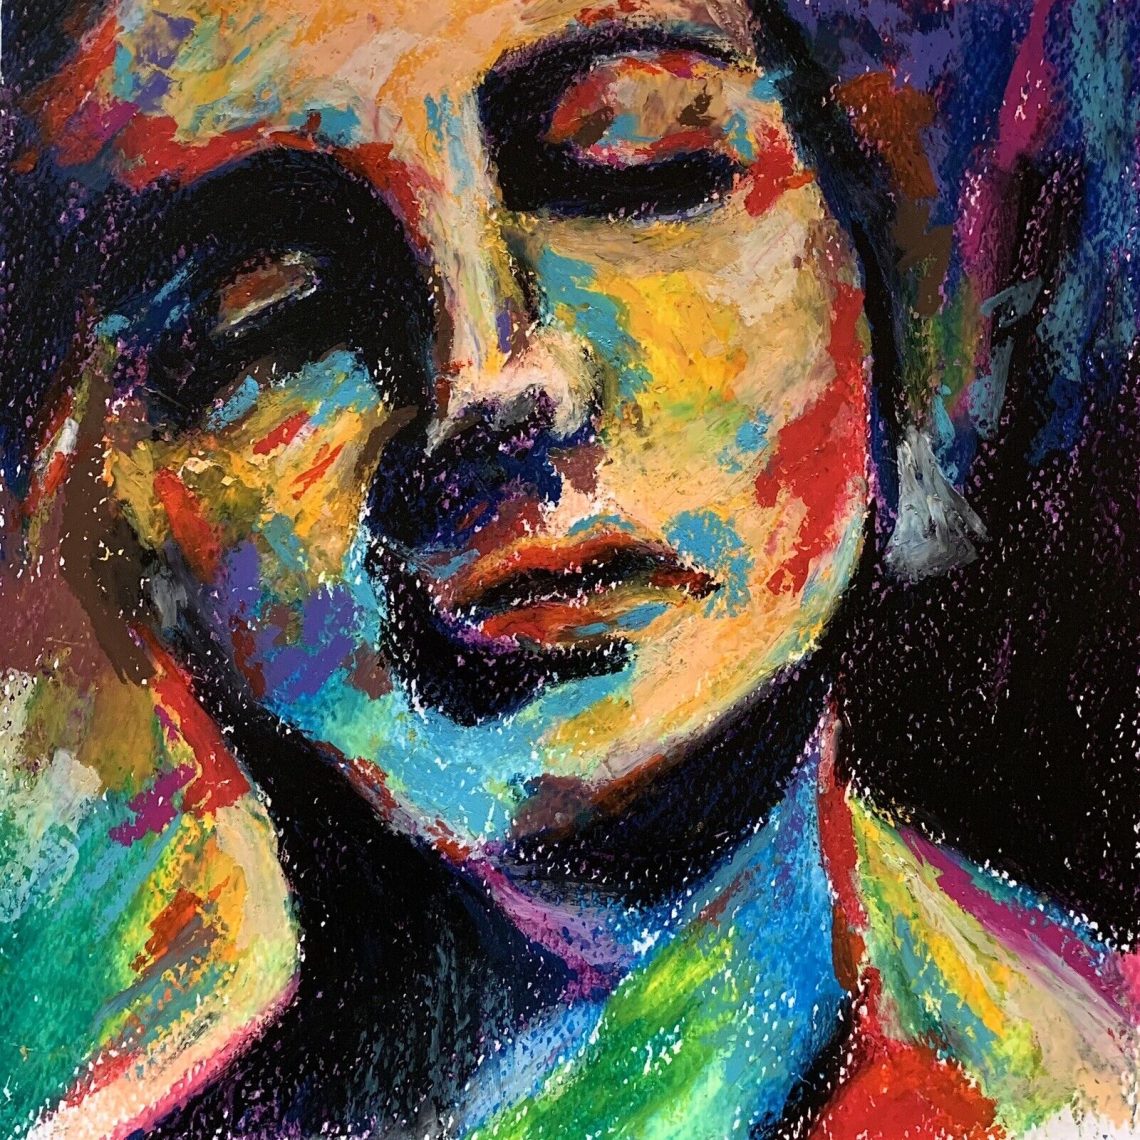
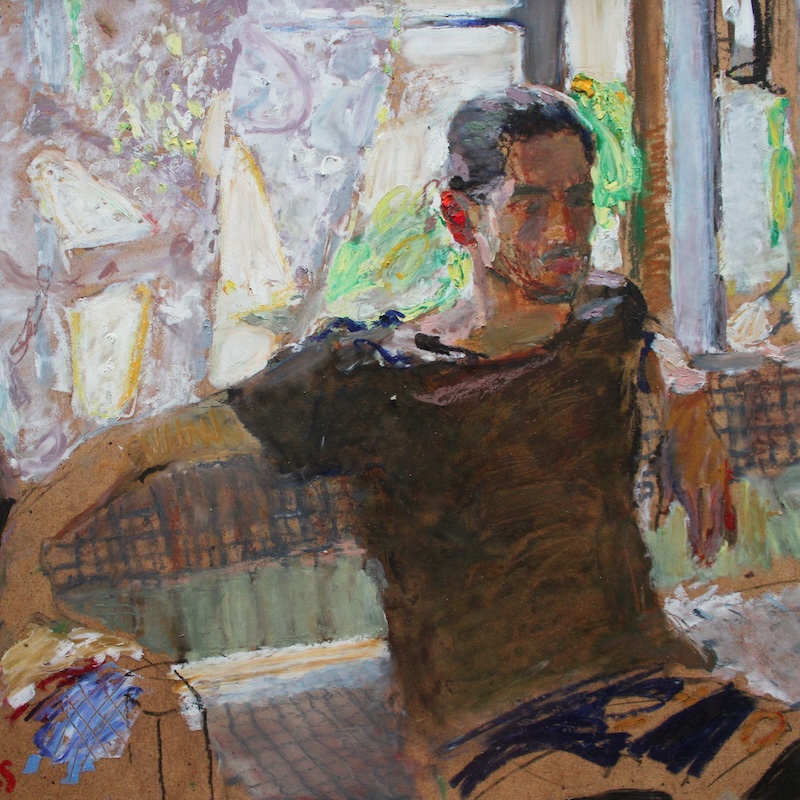
Oil pastel art portrait offer a unique and vibrant approach to portraiture. This versatile medium allows artists to express their creativity with rich colors and smooth textures. Whether you are an aspiring artist or an art student, using oil pastels for portraits can open up a new world of artistic possibilities. In this guide, we will explore the world of oil pastel art portraits, examining everything from essential techniques to recommended materials.
As you work with oil pastels, you will discover their unique qualities. The creamy consistency and blendability of oil pastels make them ideal for capturing the nuances of human features. Throughout this article, we will delve into the step-by-step process for creating stunning oil pastel portraits, ensuring you have the knowledge and skills to embark on your artistic journey.
Understanding Oil Pastels
Before diving into the techniques of creating oil pastel art portraits, it is essential to understand what oil pastels are. Oil pastels are a type of art medium made from pigment mixed with a non-drying oil and wax binder. This composition gives oil pastels a creamy texture, allowing for easy application and blending.
Unique Features of Oil Pastels
One of the primary reasons artists favor oil pastels is their vibrant color payoff. The pigments in oil pastels are intense and can create striking effects on paper. Additionally, oil pastels allow for various techniques, such as layering and blending, to achieve depth and dimension in portraits.
Unlike traditional chalk pastels, oil pastels remain vibrant and do not produce dust. This quality makes them ideal for creating clean, dynamic portraits without the mess associated with other mediums. Furthermore, oil pastels can be used on various surfaces, including textured papers, canvas, and wood. This versatility expands the potential for artistic expression.
Why Use Oil Pastels for Portraits
Oil pastels are particularly well-suited for portraiture due to their ability to create smooth transitions between colors. Blending techniques enhance the softness of skin tones and allow artists to capture subtle details. Whether you’re drawing a realistic likeness or a stylized portrait, oil pastels provide the flexibility to experiment and refine your approach.
Understanding the characteristics of oil pastels will help you appreciate their potential before diving into your first oil pastel art portrait.
Key Techniques for Oil Pastel Portrait
Creating beautiful oil pastel art portraits requires specific techniques that enhance your artistic expression. Here are some key methods to master:
1. Layering
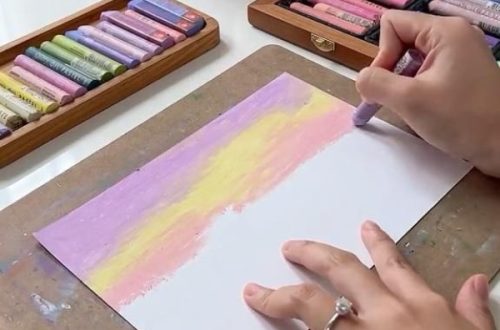
Layering is a fundamental technique when working with oil pastels. It involves applying multiple layers of color to create depth and richness. Start with light colors as your base and gradually add darker tones. By layering, you can achieve the desired intensity while maintaining smooth transitions.
2. Blending
Blending is another crucial technique to achieve smooth transitions between colors. You can use several tools, including your fingers, a blending stump, or a piece of cloth. Gently rub the areas where colors meet to create a seamless effect. Always be mindful of pressure; too much can damage the paper or create unwanted textures.
3. Scraping
Scraping is a technique used to remove areas of oil pastel or create texture. By using a palette knife or a sharp object, you can scrape away the top layer of pastel to reveal the underlying colors. This method can add dynamic elements to your portrait and bring out highlights.
4. Sgraffito
Sgraffito is a technique where you apply a layer of color and then scratch into it to reveal the underlying surface. This method works well for fine details such as hair strands or texture. It adds intricate details that make your portrait stand out.
5. Color Mixing
Understanding how to mix colors enhances your portraits. As you work with oil pastels, experiment by combining different shades to create unique skin tones or other colors. This skill allows for greater customization in your artwork.
These techniques will serve as the foundation for creating expressive and stunning oil pastel art portraits. Practice will make you more confident and versatile in your approach.
Materials Needed for Oil Pastel Portrait
To create impressive oil pastel art portraits, having the right materials is key. Here’s a list of essential supplies you will need:
1. Oil Pastels
Invest in a good quality set of oil pastels. Brands like Sennelier, Holbein, and Cray-Pas offer excellent options. A 48-set or larger is ideal for creating a wide range of colors.
2. Paper
Selecting the right paper is crucial for oil pastel techniques. Look for textured paper designed for oil pastels or heavier mixed-media papers. The rough surface allows for better adhesion and blending of colors.
3. Blending Tools
Various tools can help with blending. Your fingers, blending stumps, and soft cloths are useful for smoothing out colors. Additionally, consider using cotton swabs for detailed blending work.
4. Palette Knife
A palette knife is helpful for scraping and layering techniques. It can also assist in mixing colors directly on your surface if needed.
5. Fixatives
While oil pastels don’t require a fixative like other mediums, using a workable fixative can help prevent smudging during the creation process. Ensure you choose a product suitable for oil pastels.
6. Sketching Pencils
Before you begin with your oil pastels, sketching the initial outlines with a light pencil can help guide your work. Choose a soft pencil for easy removal later.
Having these materials on hand will set you up for success as you create your oil pastel art portraits. Good quality supplies can elevate your artwork and make the creative process more enjoyable.

Step-by-Step Guide to Creating an Oil Pastel Portrait
Creating an oil pastel art portrait can be a rewarding experience. Follow this step-by-step guide to start your creation:
Step 1: Choose a Reference Phot
Select a photograph that provides clear details. Ensure the lighting highlights the facial features, making it easier to replicate colors and tones.
Step 2: Sketch the Outline
Using a light pencil, sketch the basic proportions and outlines of the portrait on the textured paper. Focus on the placement of facial features, ensuring symmetry and accuracy. Keep the lines soft to prevent them from showing through the pastels.
Step 3: Lay Down Base Colors
Start with the base colors of the skin, hair, and background. Use light strokes and gradually build up layers. Remember to layer lighter colors first before adding darker shades.
Step 4: Add Details
Once you are satisfied with the base, begin adding details such as eyes, mouth, and hair texture. Pay attention to the reference photo, capturing the unique features. Use smaller strokes and blending tools to create realistic effects.
Step 5: Blend and Refine
Use blending tools to smooth transitions between colors. Work in small areas at a time for precision. Continue refining the portrait by adding more layers and details, adjusting colors as necessary.
Step 6: Enhance with Highlights and Shadows
Add highlights and shadows to bring depth to your portrait. Use lighter shades on areas that catch light, such as the forehead and cheekbones. Darker shades will add depth to the areas under the chin or around the eyes.
Step 7: Final Touches
Once satisfied with your work, take a step back and review the portrait. Make any final adjustments and refinements. If necessary, use a palette knife to scrape areas for additional highlights or texture.
Following these steps will help you create a beautiful oil pastel art portrait. Remember that practice is essential; each artwork will improve with time and experience.
Showcasing Famous Oil Pastel Artists
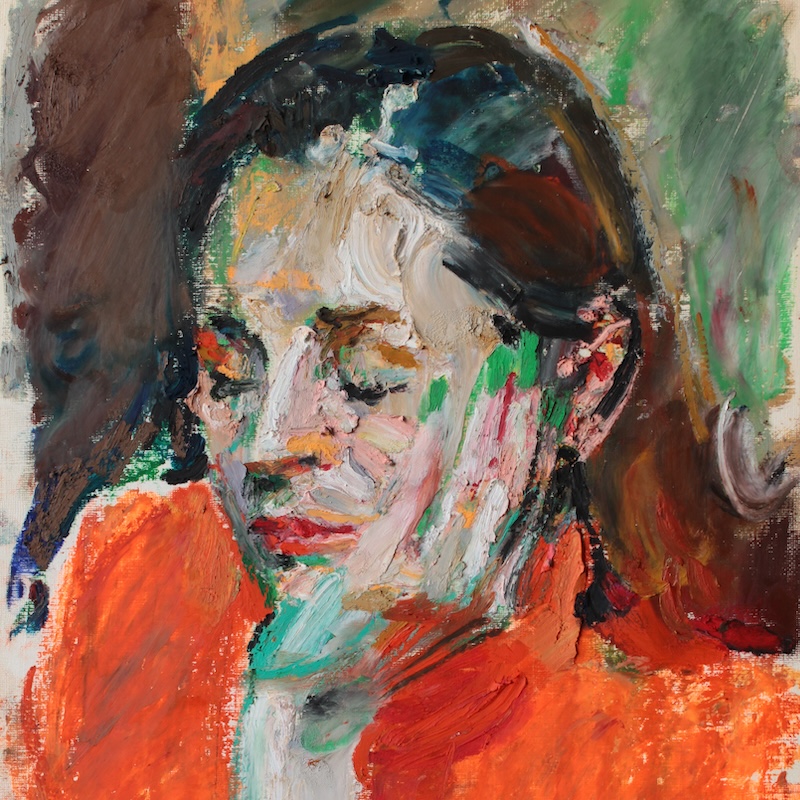
Several artists have gained recognition for their remarkable work using oil pastels. Their techniques and styles can serve as inspiration for your own portraits.
1. Henri Simo
Henri Simo is a contemporary artist known for his emotive portraits. He utilizes oil pastels to convey the essence of his subjects with bold colors and expressive lines. Simo’s unique approach emphasizes the emotional depth of his characters.
2. Vincent van Gogh
While primarily known for his oil paintings, Vincent van Gogh experimented with oil pastels. His use of vibrant colors and swirling strokes can be seen in his portrait work. Though he primarily utilized oils, his influence reminds us of the emotional power color can wield.
3. Luis Sanguino
Luis Sanguino is known for his intricate portraits that illustrate realism and detail. By employing layering and blending techniques, he captures the subtleties of light and shadow in his oil pastel portraits. Studying his work can provide insights into achieving realistic effects.
4. Claude Monet
Although Claude Monet is renowned for his impressionist paintings, he also worked with oil pastels. His innovative use of color paved the way for genres and techniques that followed. Monet’s approach demonstrates how color can transform a portrait into an emotional statement.
Exploring the works of these artists can inspire you while providing valuable insight into the techniques and approaches that elevate oil pastel art portraits.
Conclusion
Oil pastel art portraits merge vibrant color and diverse techniques to create captivating artwork. By understanding the unique characteristics of oil pastels, mastering essential techniques, and choosing the right materials, you can create stunning portraits that reflect your artistic vision.
As you experiment and practice, you will develop a deeper connection with the medium. Remember that every artist’s journey is unique; embrace the process and let your creativity flow. By following this comprehensive guide, you are well-equipped to dive into the world of oil pastel art portraits and create your colorful masterpieces.
Whether you are an art student, a hobbyist, or a dedicated educator, oil pastels offer a fantastic avenue for artistic expression. So, gather your supplies, set your creative spirit free, and enjoy the process of capturing the beauty of your subjects!
