Mastering Realistic Oil Pastel Portraits: A Comprehensive Guide
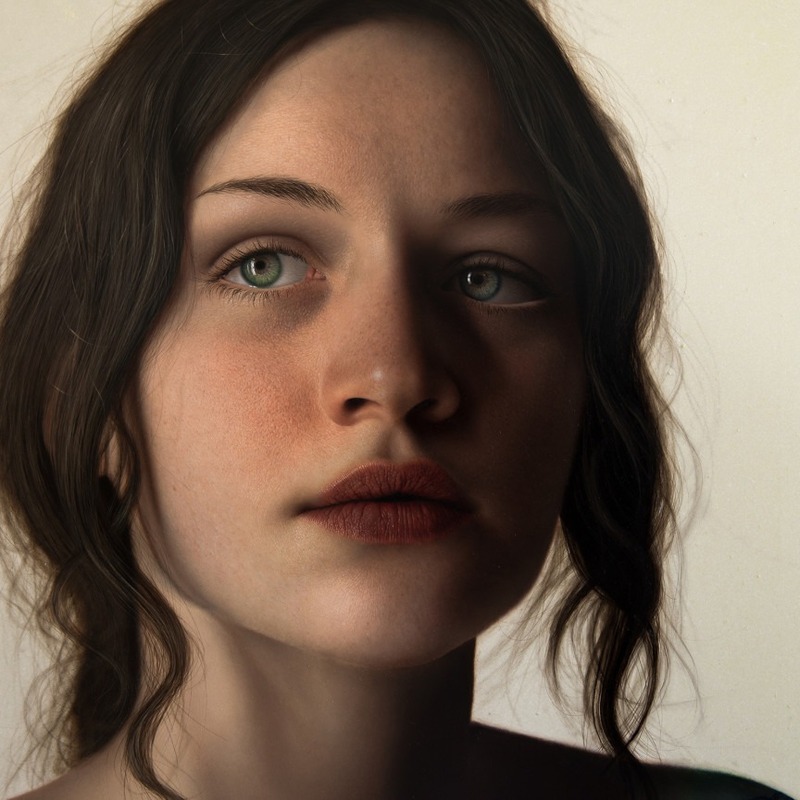
Portrait art has been a cherished form of expression throughout history. With modern techniques and mediums, artists have more options than ever to create stunning representations of human likeness. One medium that has gained popularity for its vibrant hues and versatility is oil pastels. In this article, we will explore how to create a realistic oil pastel portrait, offering step-by-step instructions, useful tips, and valuable insights into this captivating art form.
Introduction
Creating a realistic oil pastel portrait combines the rich, creamy texture of oil pastels with the skill of portrait drawing. Oil pastels provide artists with a unique way to explore color blending and layering techniques. Their vibrant pigmentation makes them ideal for capturing the subtleties of skin tones and facial features.
Artists of all skill levels can appreciate the process of using oil pastels. There’s something incredibly rewarding about transforming a blank canvas into a lifelike representation of a person. Whether you are an art student looking to improve your skills or an experienced artist seeking to experiment with a new medium, this guide will help you on your journey to creating realistic oil pastel portraits.
Understanding Oil Pastels
Before diving into the creation of a realistic oil pastel portrait, it’s essential to understand what oil pastels are and how they differ from other art mediums.
What Are Oil Pastels?
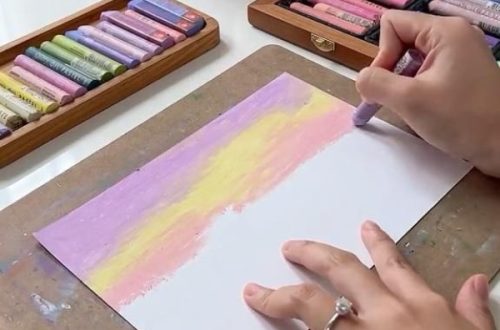
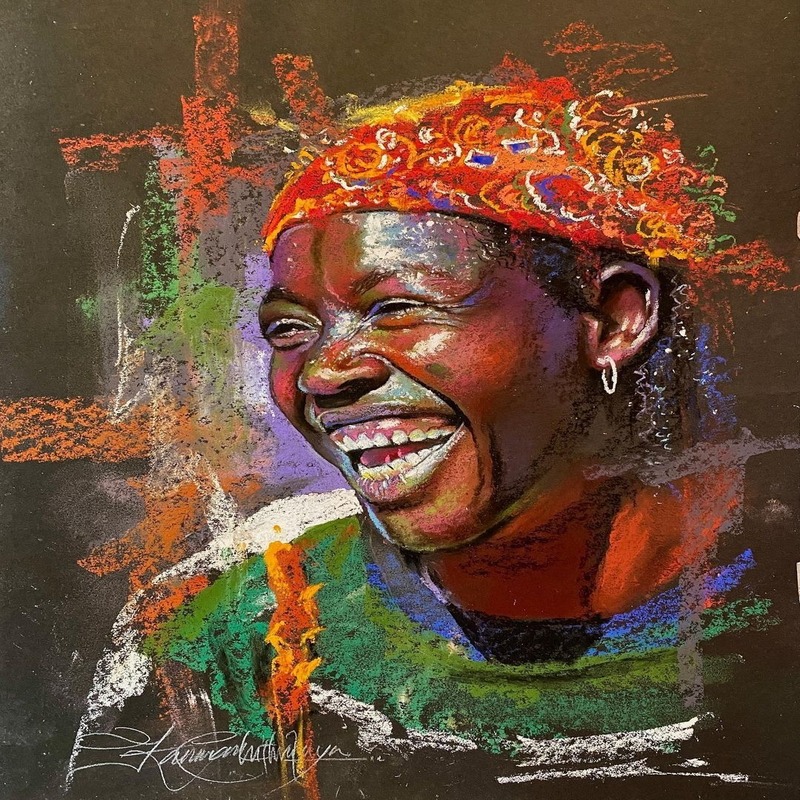
Oil pastels are a drawing medium made of pigment, wax, and oil. These elements blend smoothly to create a rich and vibrant texture. Unlike traditional chalk pastels, which consist of dry pigment in a chalky binder, oil pastels maintain a moist texture. This allows artists to create layering effects and mix colors directly on the surface.
How Oil Pastels Differ from Other Mediums
Oil pastels differ significantly from various other mediums like colored pencils or acrylics. Here are some key contrasts:
– Texture: Oil pastels have a creamy texture, allowing for smoother application and blending.
– Layering: Due to their unique binder, oil pastels can be layered without disturbing underlying colors. This feature is particularly advantageous for creating depth in portraits.
– Blending: While colored pencils require precise layering and pressure for blending, oil pastels lend themselves easily to soft transitions.
– Color Vibrancy: Oil pastels often produce more vivid colors compared to their chalk counterparts.
Understanding these characteristics will help you appreciate the advantages of using oil pastels and how they can enhance your portrait work.
Tools and Materials Needed
To create a stunning realistic oil pastel portrait, you’ll need a selection of quality materials. The following items are essential for a successful experience:
Essential Materials
– Quality Oil Pastels: Invest in a good set of oil pastels. Brands like Sennelier, Caran d’Ache, and Faber-Castell are known for their rich pigmentation and smooth application.
– Paper: Use a textured paper that can handle oil pastels without tearing. Look for papers designed for pastels or those with a heavier weight (around 200-250 gsm).
– Blending Tools: While fingers work well for blending, you may also use blending stumps, cloth, or tortillons to achieve precise results.
– Fixatives (Optional): To protect your finished artwork, consider using a fixative made specifically for oil pastels. Use it sparingly to prevent color distortion.
Optional Materials
– Color Wheel: Understanding color theory can greatly enhance your portraits.
– Reference Photos: Having high-quality reference photos is crucial for capturing likeness and detail.
With your materials gathered, you can proceed to the fun part—creating your portrait!
Step-by-Step Guide to Creating a Realistic Oil Pastel Portrait
Creating a realistic oil pastel portrait involves a series of essential steps. Below is a detailed guide to help you through the process:
Step 1: Preliminary Sketch
Start by lightly sketching the outline of your portrait on the paper. Use a pencil for this step. Focus on basic shapes, proportions, and the overall placement of facial features. Keep it light so the pencil lines won’t show through the oil pastels.
Step 2: Blocking in Base Colors
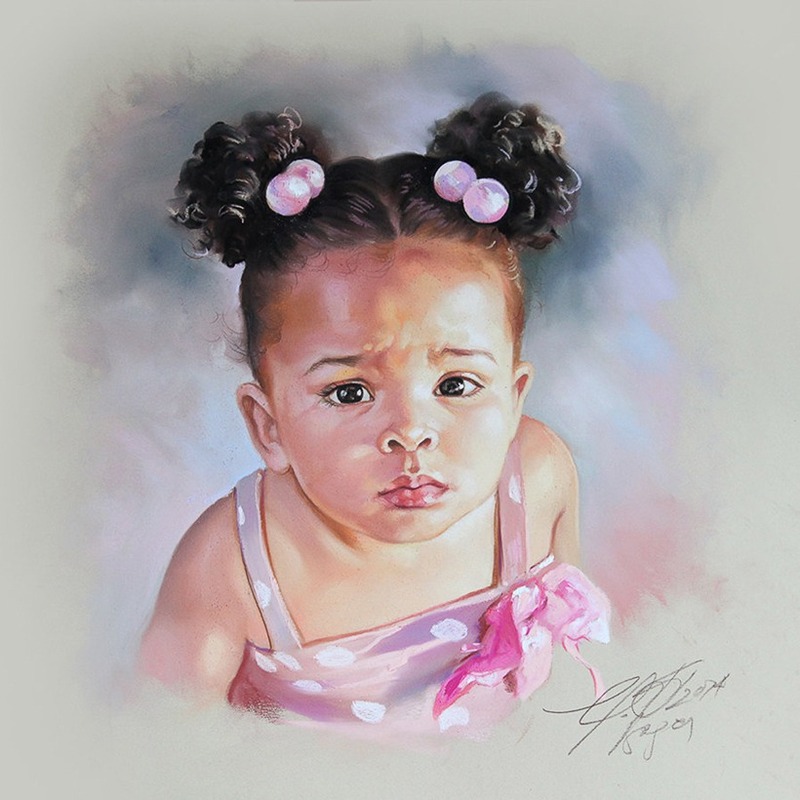
With your sketch in place, begin by applying the base colors. Start with the skin tones, layering the oil pastels lightly. Use a variety of shades to capture the natural nuances of the skin. Build slowly, and don’t be afraid to experiment with blending colors directly on the paper.
Step 3: Blending Techniques
Once your base colors are applied, it’s time to blend. Use your fingers or blending tools to smooth out transitions between colors. Circular motions or gentle strokes can help achieve a more realistic appearance. Remember, less pressure results in softer blends.
Step 4: Laying in Features
Add details such as eyes, lips, and hair. Pay attention to the reference photo, focusing on capturing the correct colors and shapes. Use fine points of the oil pastels for details to enhance areas like eyelashes and highlights in the eyes.
Step 5: Building Depth
To create depth and dimension, apply shadows and highlights. Identify where natural light hits the face and where shadows fall. Layer additional colors to create contrast, and always blend well to maintain a natural look.
Step 6: Final Touches
Once all elements are in place, take a step back and assess your work. Add any final details or adjustments. Highlights on the eyes can dramatically enhance liveliness, while softening harsh lines can improve realism.
Step 7: Fixative Application (Optional)
If desired, apply a light layer of fixative to protect your artwork. Make sure to allow the work to dry fully before applying any fixative.
Common Techniques for Realistic Portraits
To elevate your realistic oil pastel portrait, consider mastering the following techniques:
1. Color Theory Application
Understanding color theory is crucial for mixing natural skin tones. Use a color wheel as a guide to mix complementary colors and achieve shades that reflect realism.
2. Creating Depth with Shading
Use a combination of darker and lighter pastels to generate depth. Shadows should transition smoothly into lighter areas for a three-dimensional effect.
3. Highlighting Features
Applying highlights to areas like the nose, forehead, and cheekbones can enhance the lifelike quality. Use lighter shades to paint these highlights, and blend them well with surrounding colors.
Common Mistakes and How to Avoid Them
While creating realistic oil pastel portraits can be enjoyable, artists may face challenges. Here are some common mistakes and helpful tips to avoid them:
1. Overworking the Paper
One common issue is overworking the paper, which can result in a muddy appearance. Remember to layer gently and allow colors to mix naturally.
2. Inaccurate Proportions
Ensuring that each facial feature is proportionate is essential for realism. Regularly check your sketch against the reference photo to confirm accuracy.
3. Inconsistent Blending
Inconsistent blending can lead to harsh lines or unappealing transitions. Spend time practicing various blending techniques to achieve smooth gradations.
4. Skipping Fixative
Many artists neglect to use fixatives, which can lead to smudging and color loss over time. If you want your artwork to last, consider applying a fixative properly.
Inspiration and Examples
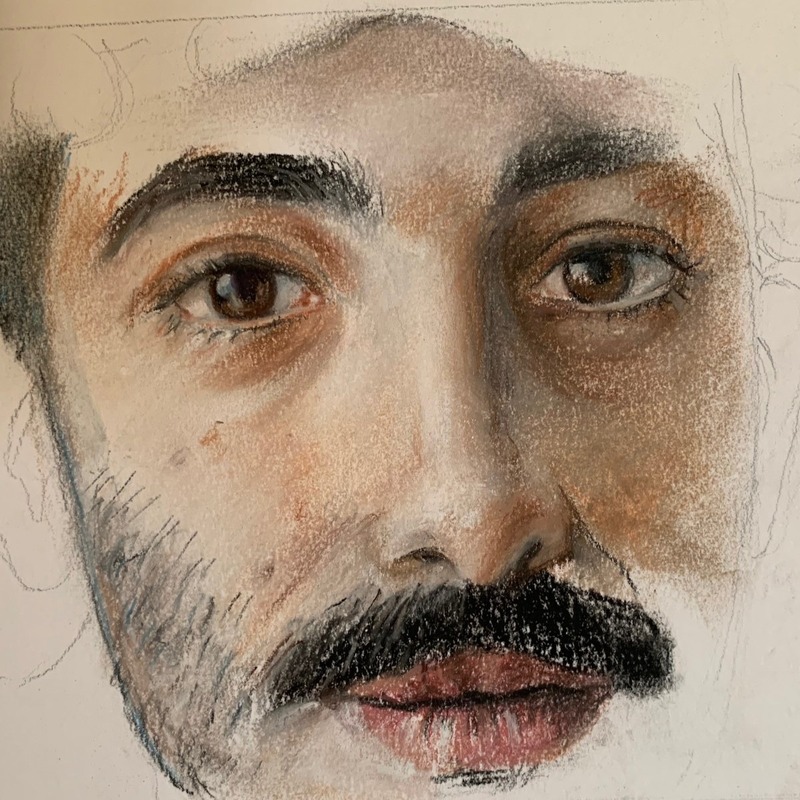
Looking for inspiration? Many artists specialize in oil pastel portraits, each bringing a unique touch to their work. Explore galleries on platforms like Instagram and Pinterest, where you can find stunning examples. You can search for hashtags like OilPastelPortraits or RealisticArt to discover exemplary pieces.
Additionally, well-known artists such as Pablo Picasso and Henri Matisse have influenced oil pastel techniques. Their mastery of color and form can provide valuable insights into portrait creation.
Conclusion
Creating a realistic oil pastel portrait is a rewarding experience that blends creativity and technical skill. With the right materials, techniques, and a bit of practice, anyone can capture the essence of their subject. Whether you are an aspiring artist, a dedicated student, or a seasoned professional, oil pastels offer a rich medium for developing your portrait artistry.
Embrace the process, enjoy the experimentation, and don’t forget to share your finished portraits with the art community. Your creations can inspire others and contribute to the vibrant world of artistic expression. So gather your materials, and let your creative journey begin with the magic of oil pastels!
